ChronoVault
-
Welcome to the NexLaw Knowledge Help Center - ChronoVault Section.
Getting Started: Building Your Case Timeline
-
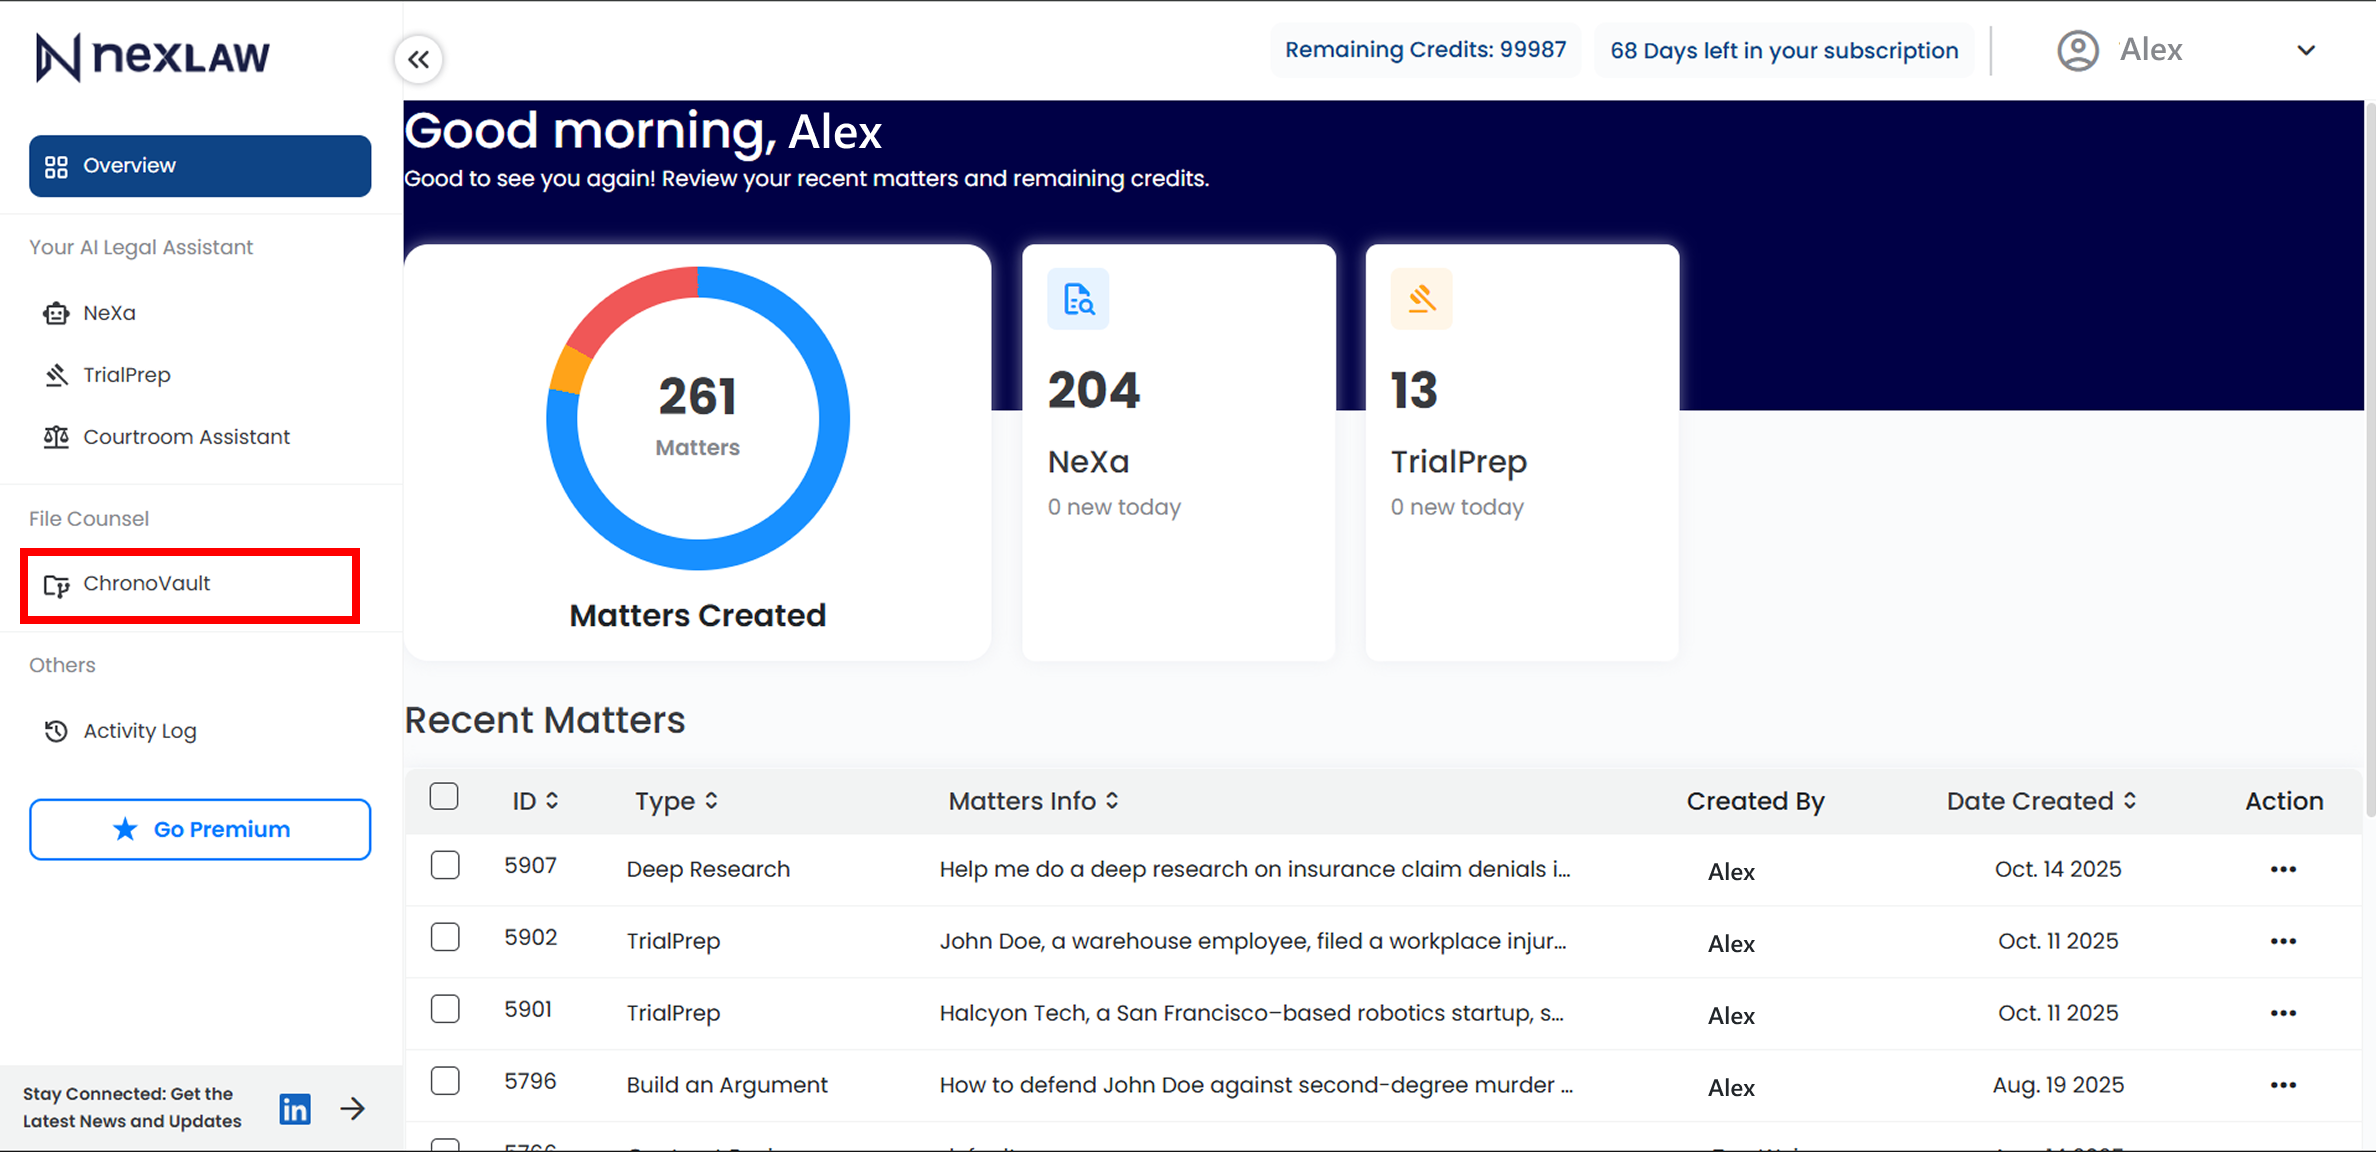
Navigate to ChronoVault
- From the main dashboard, select ChronoVault on the left sidebar.
-
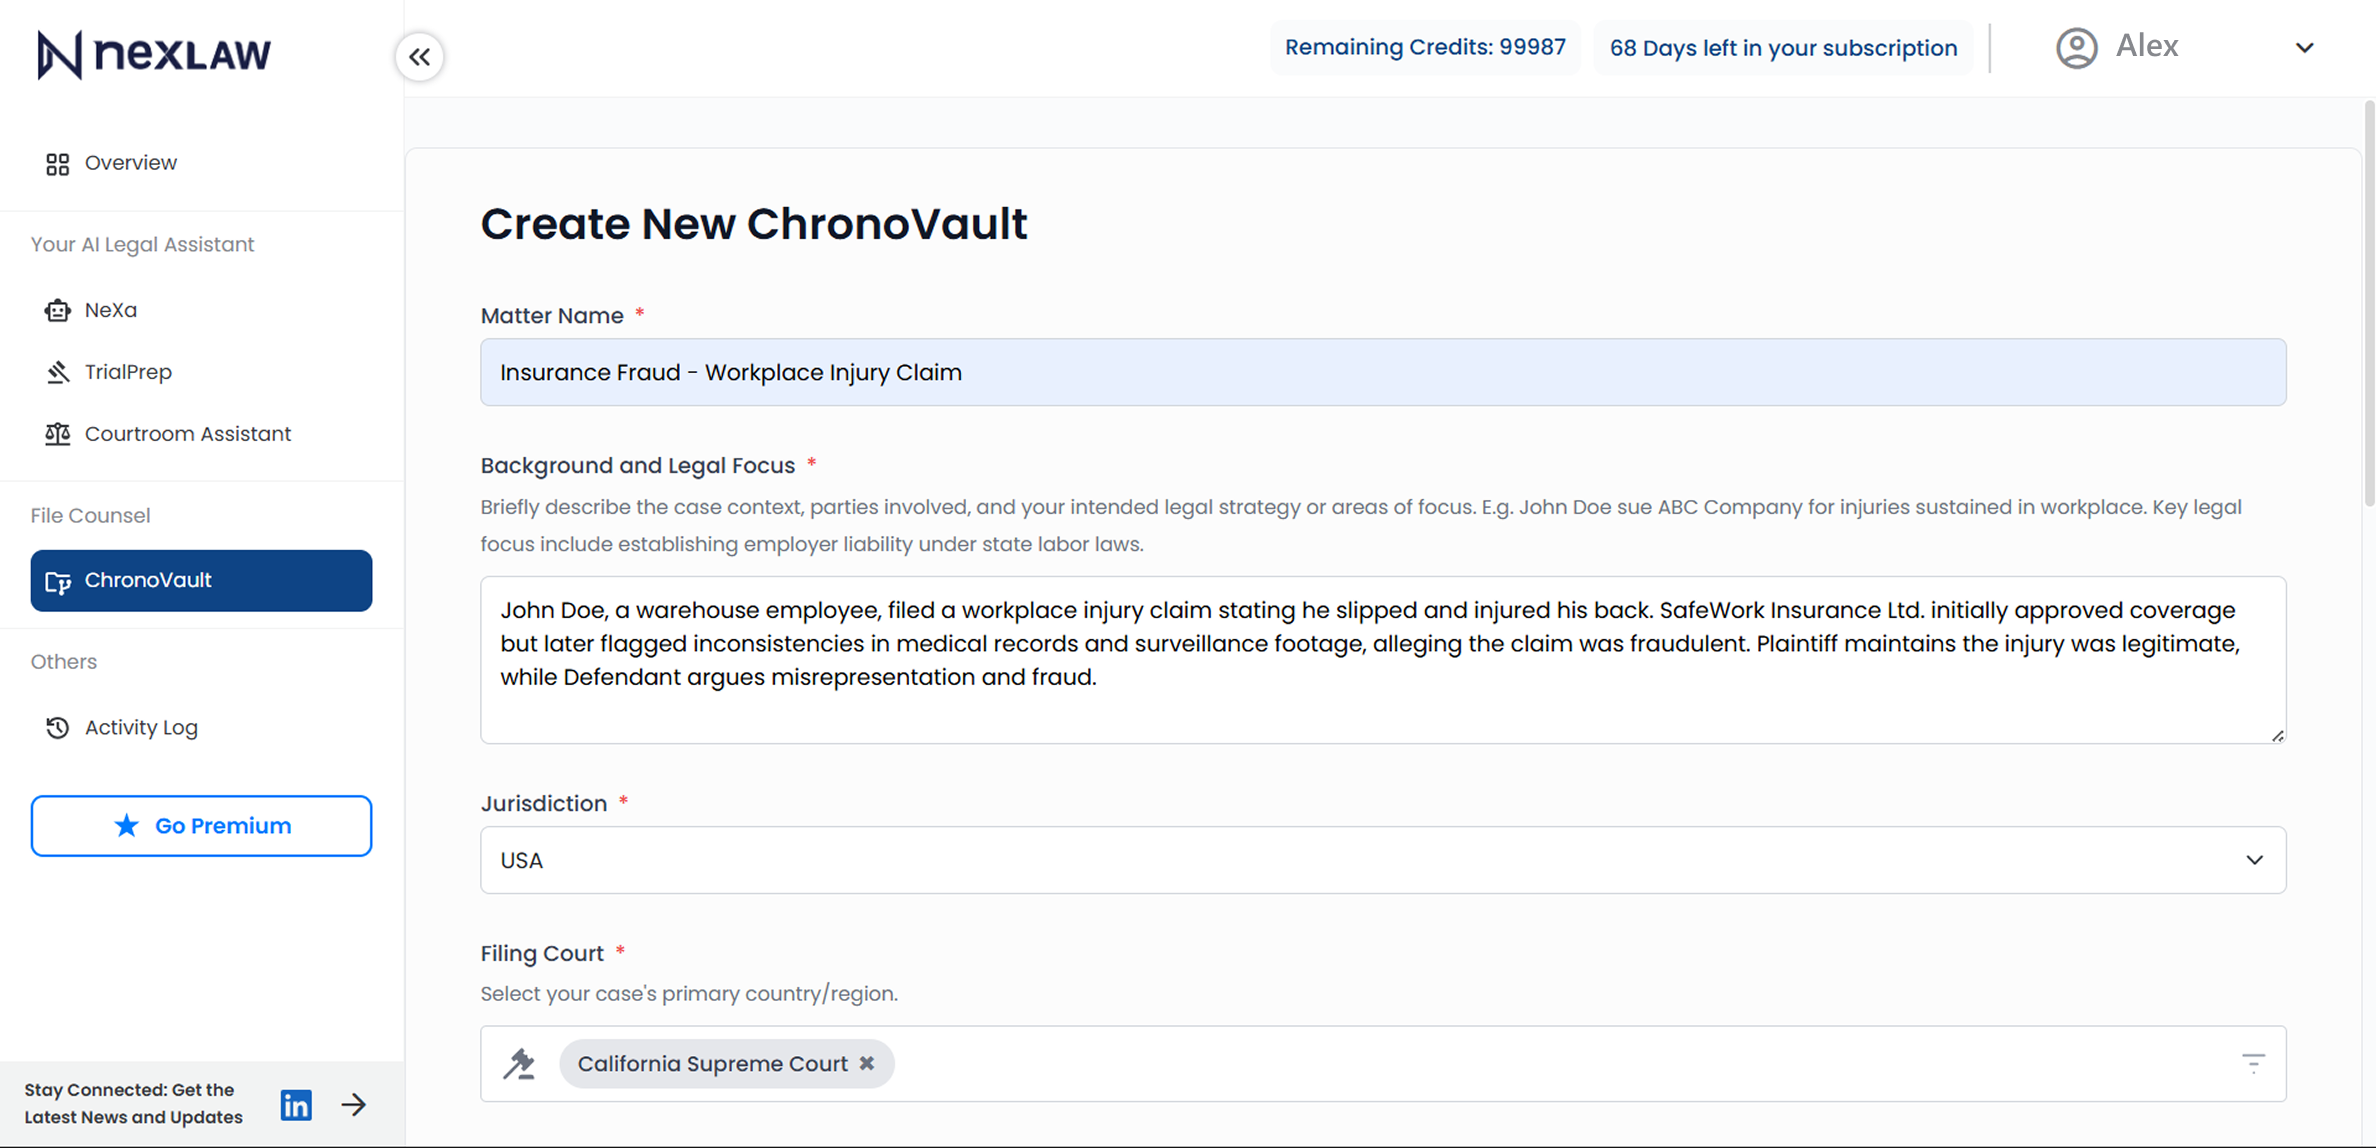
Fill the Form
- Provide key details such as:
- • Case Name
- • Case Background & Legal Focus
- • Jurisdiction & Court
- • Parties Involved
- • Client’s role (e.g., Plaintiff or Defendant)
- • Drag and drop your files into the upload window — simply dump all relevant documents into ChronoVault.
- • Supported formats include PDFs, Word files, scanned images (JPEG/PNG), and emails (EML/MSG).

- Provide key details such as:
-
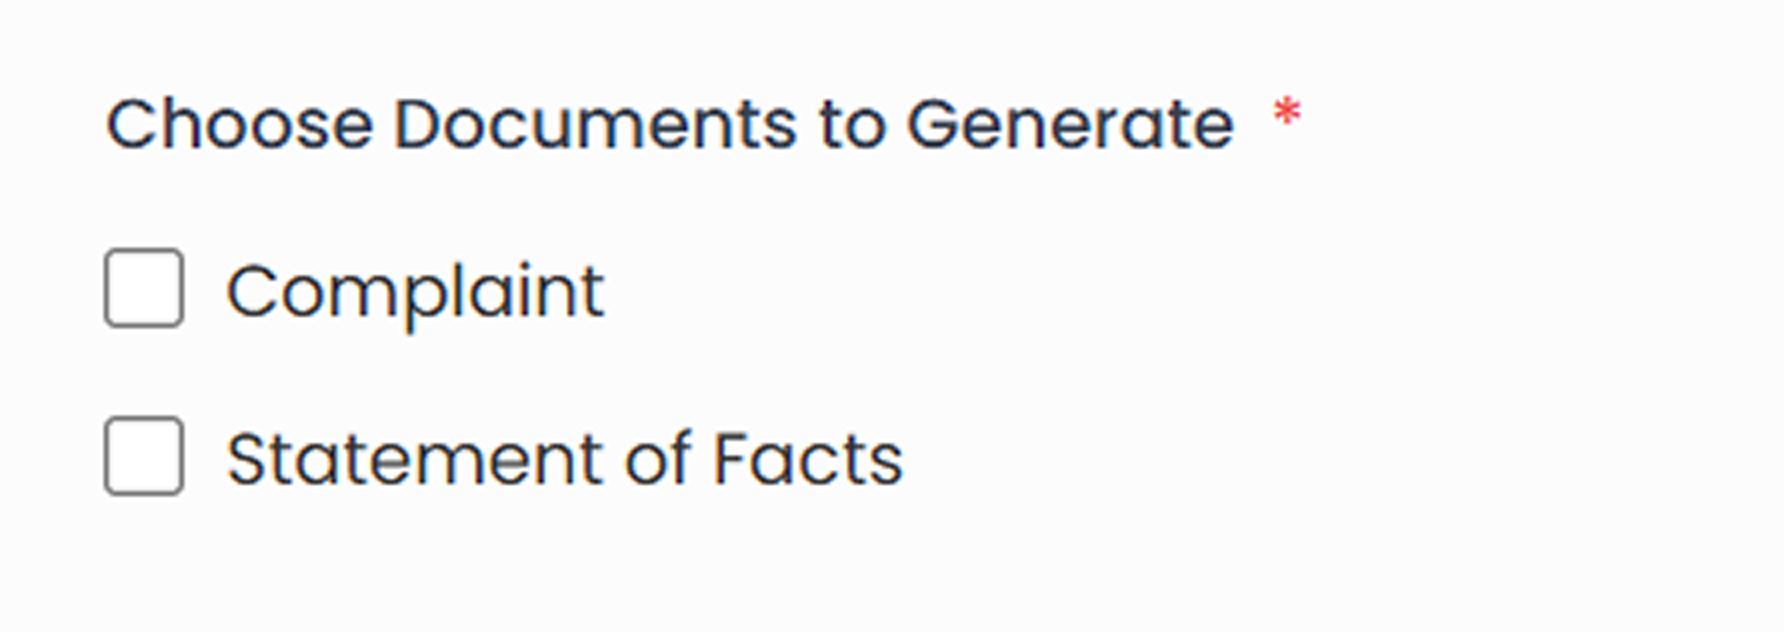
Choose What You Want to Prepare
- • Based on your client’s role, choose which core document or analysis you’d like ChronoVault to generate
Working with ChronoVault
ChronoVault automatically organizes your case materials into seven key views, each designed to help you see the full picture of your case, connect facts to evidence, and prepare stronger filings.
-
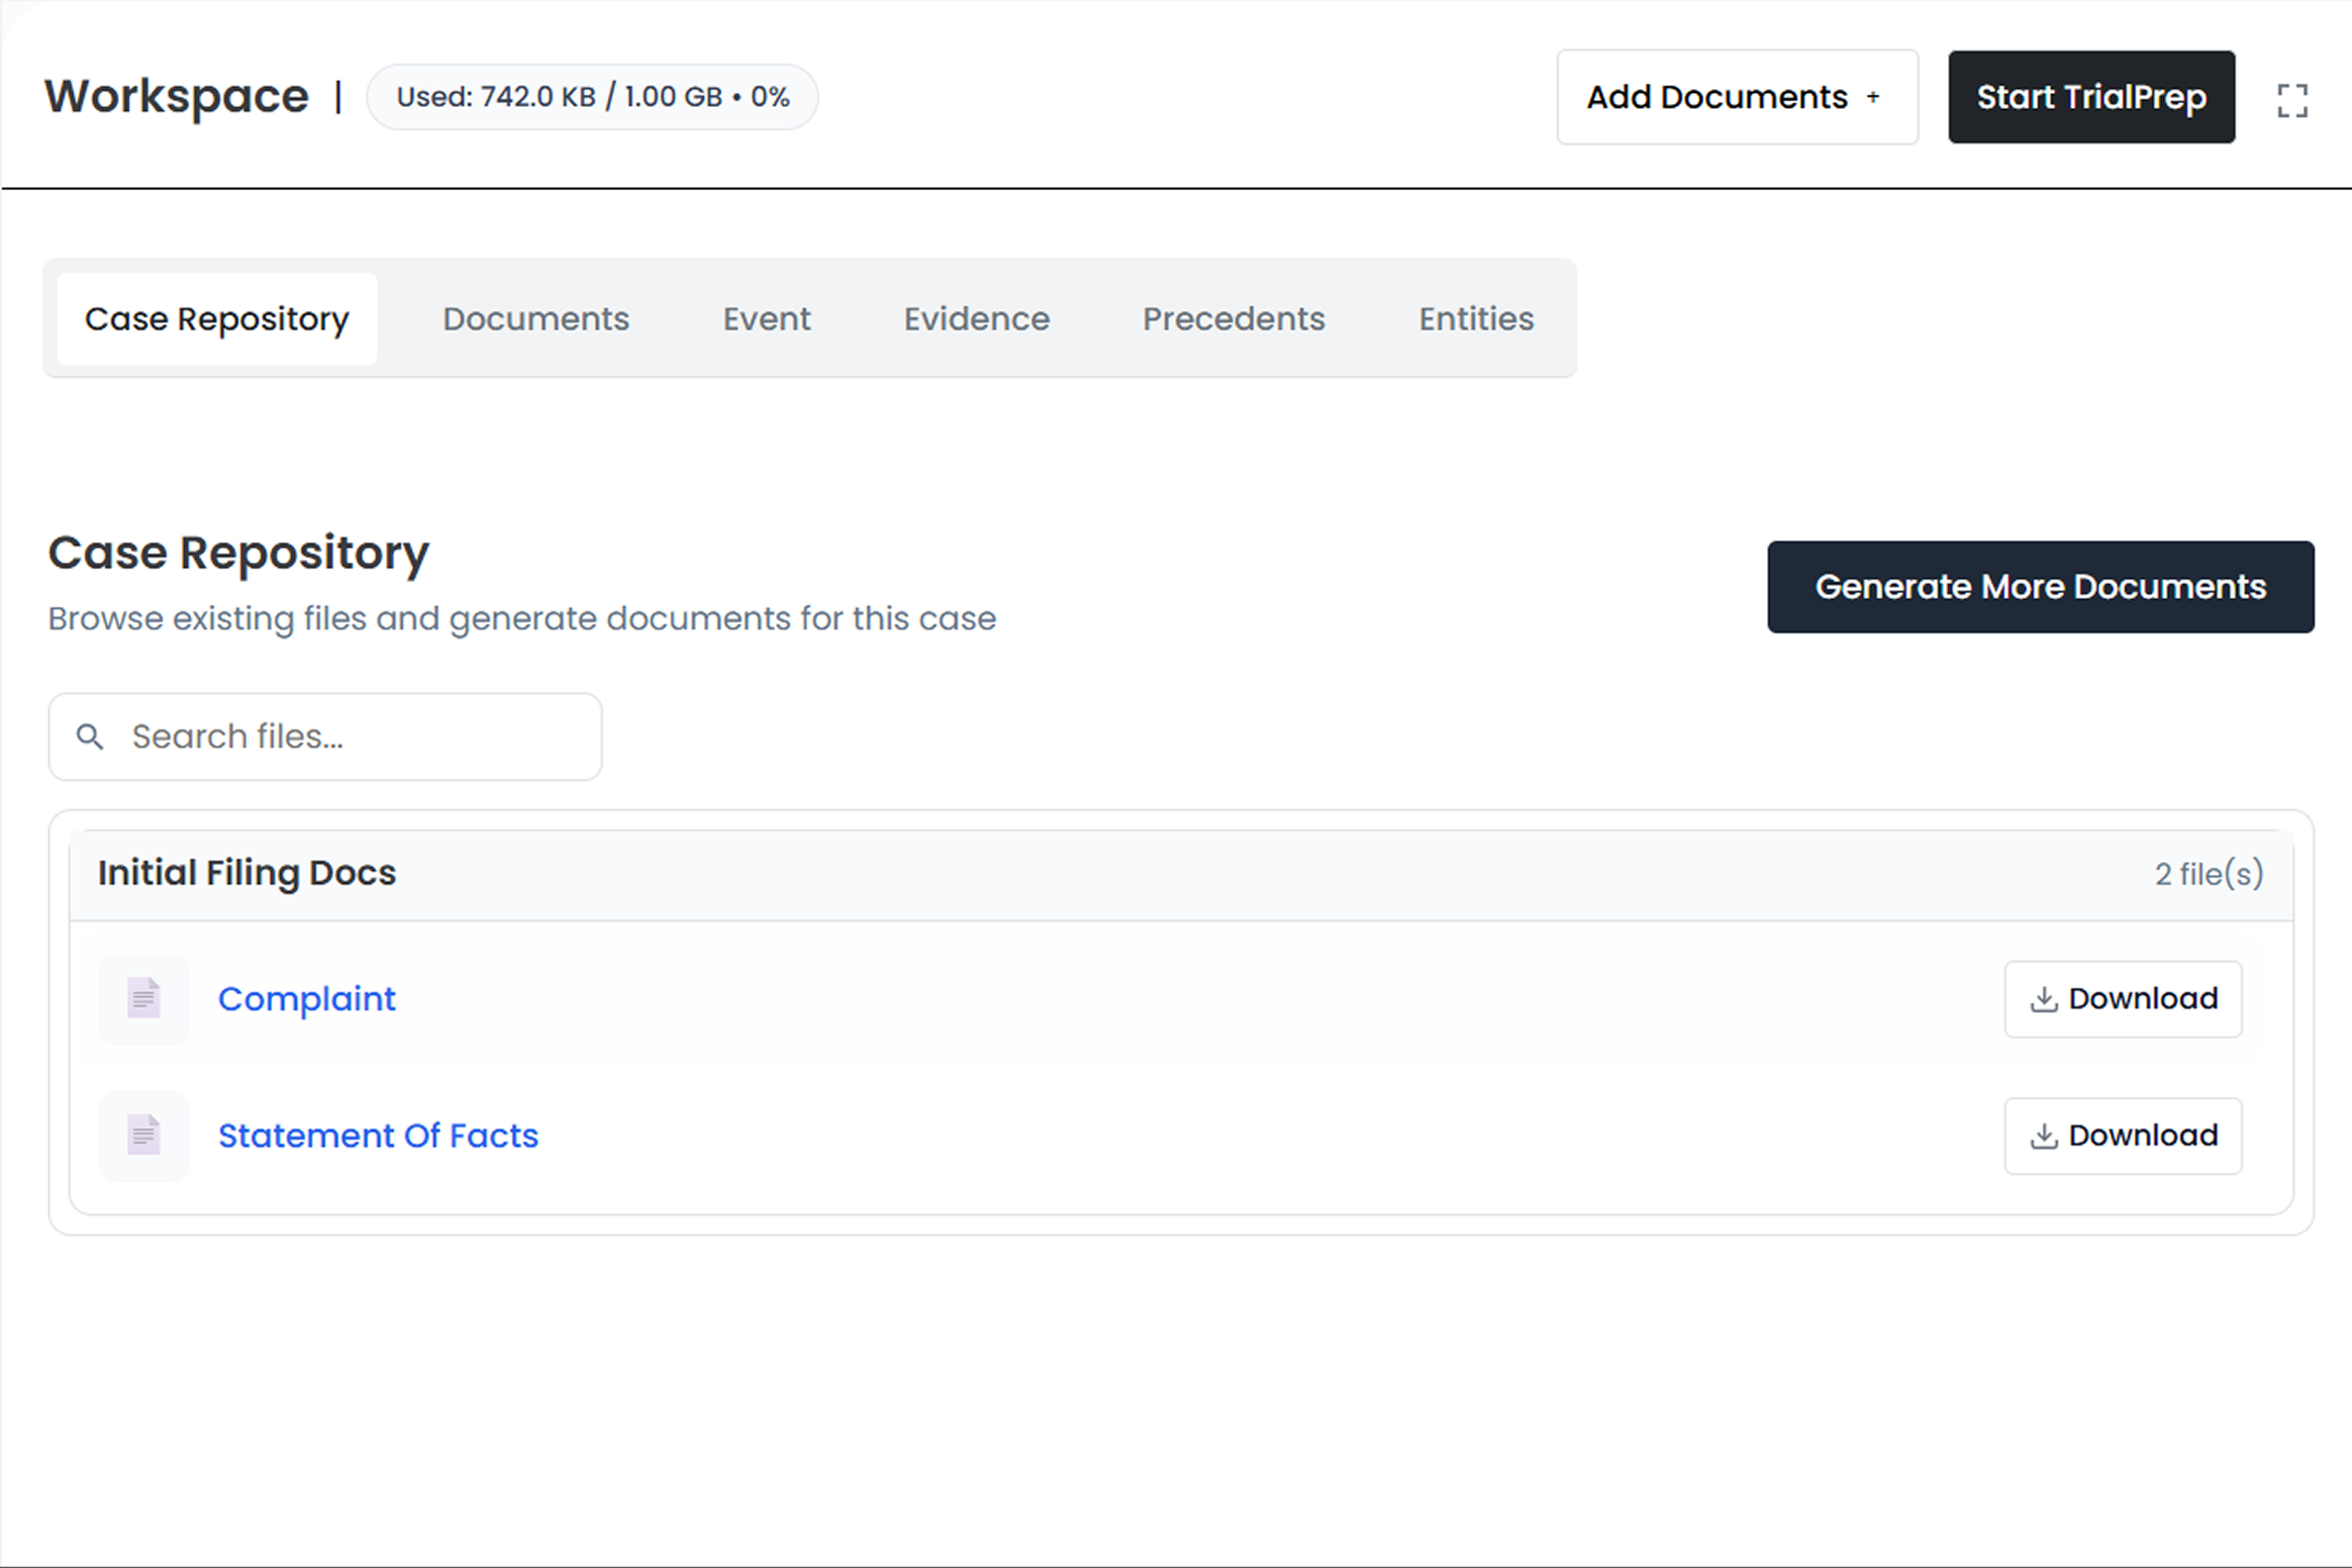
Interact with your Case Repository
- • Your Case Repository houses all foundational case filings and working materials.
- • It also stores any AI-generated drafts or reports you’ve produced through Assistant Chat.
-
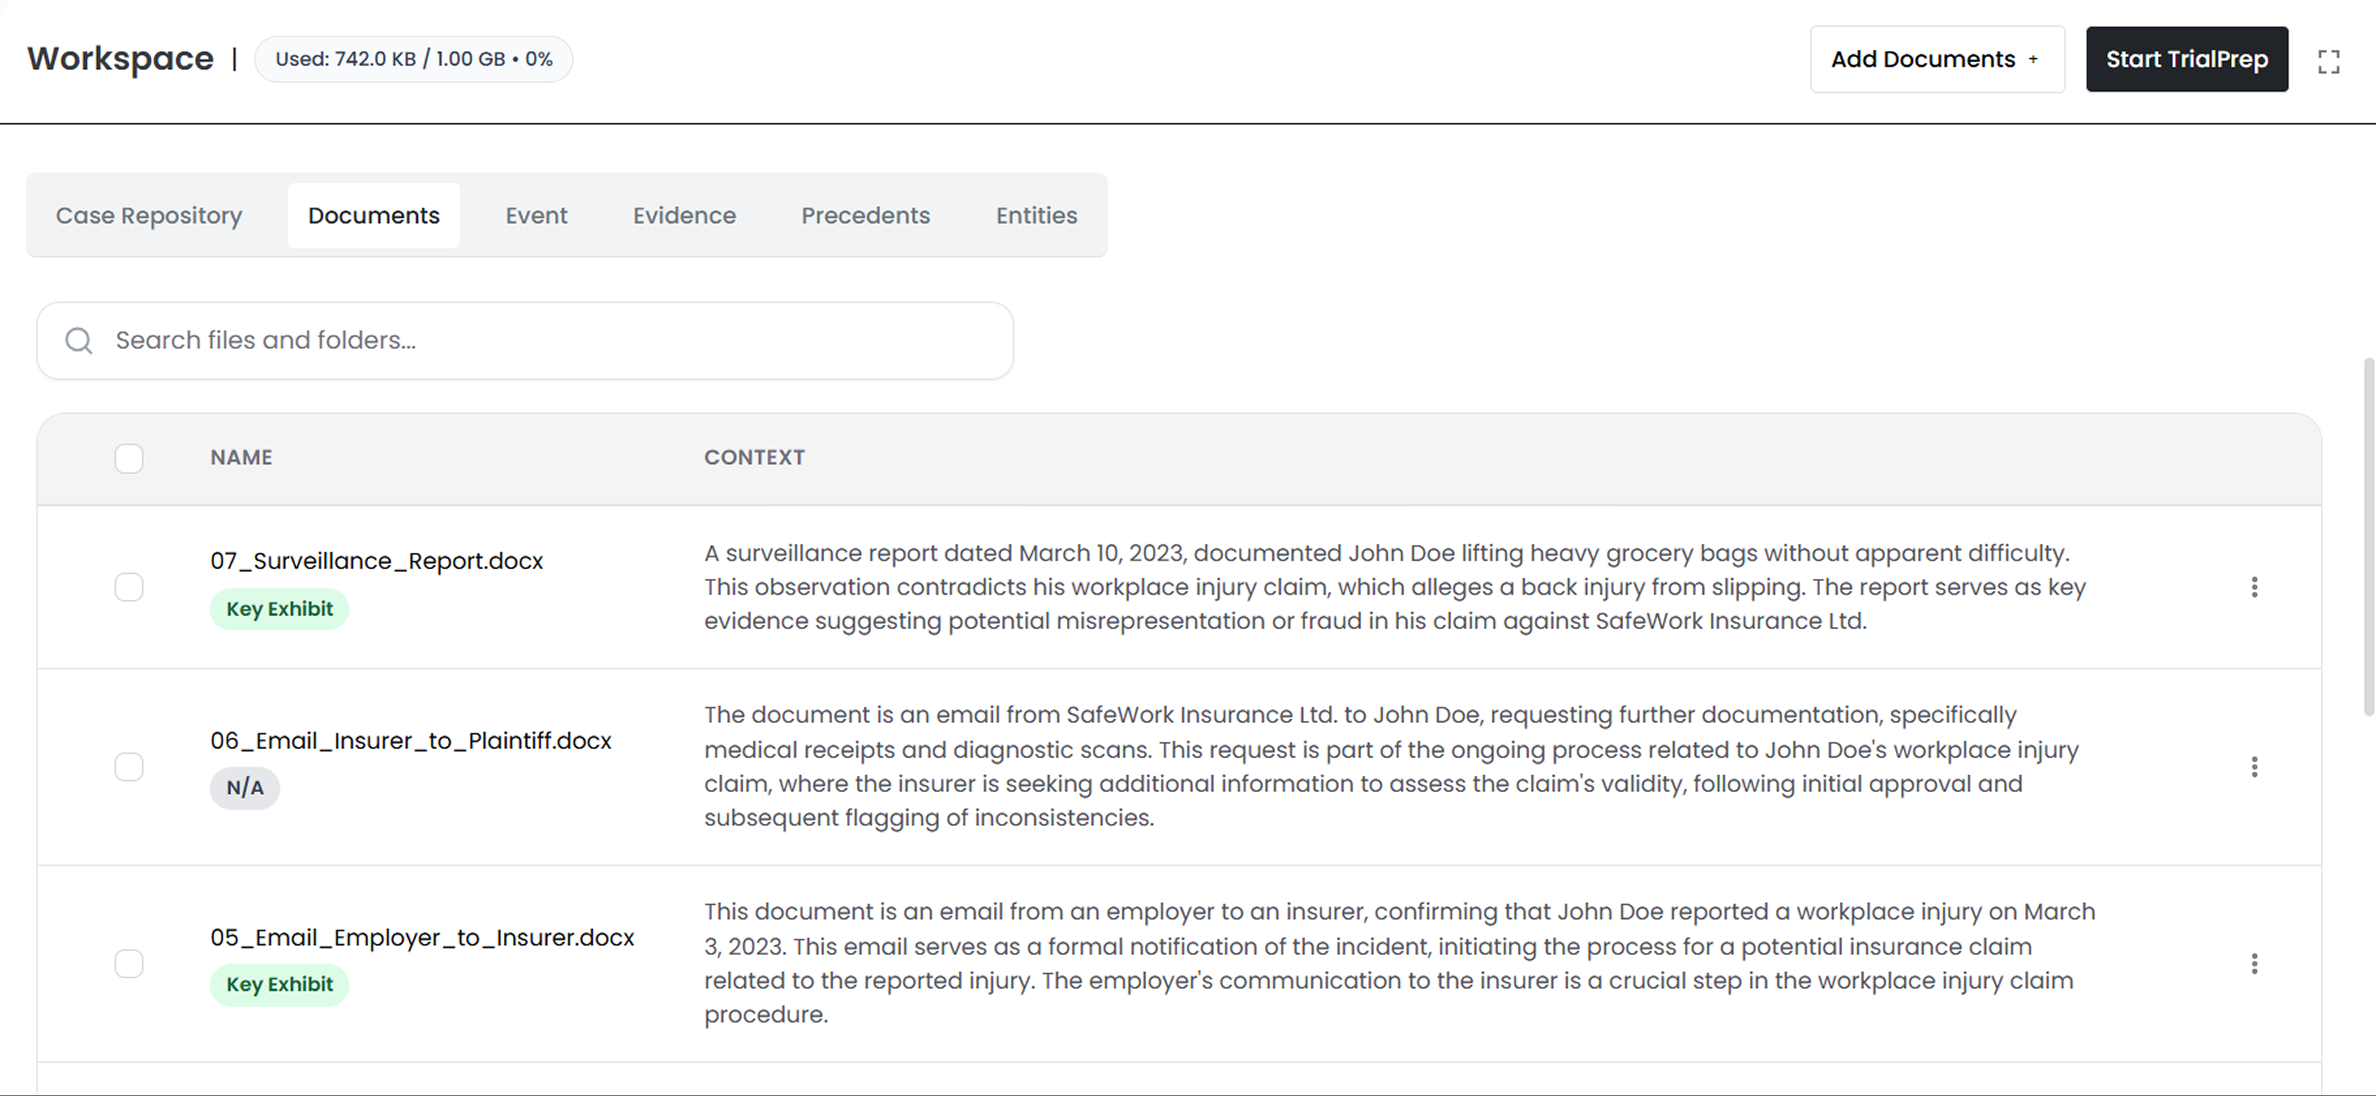
Interact with your Documents
- • View and manage all materials uploaded to ChronoVault.
- • Each document is automatically categorized and tagged for relevance and privilege, helping you focus on what truly matters.
-
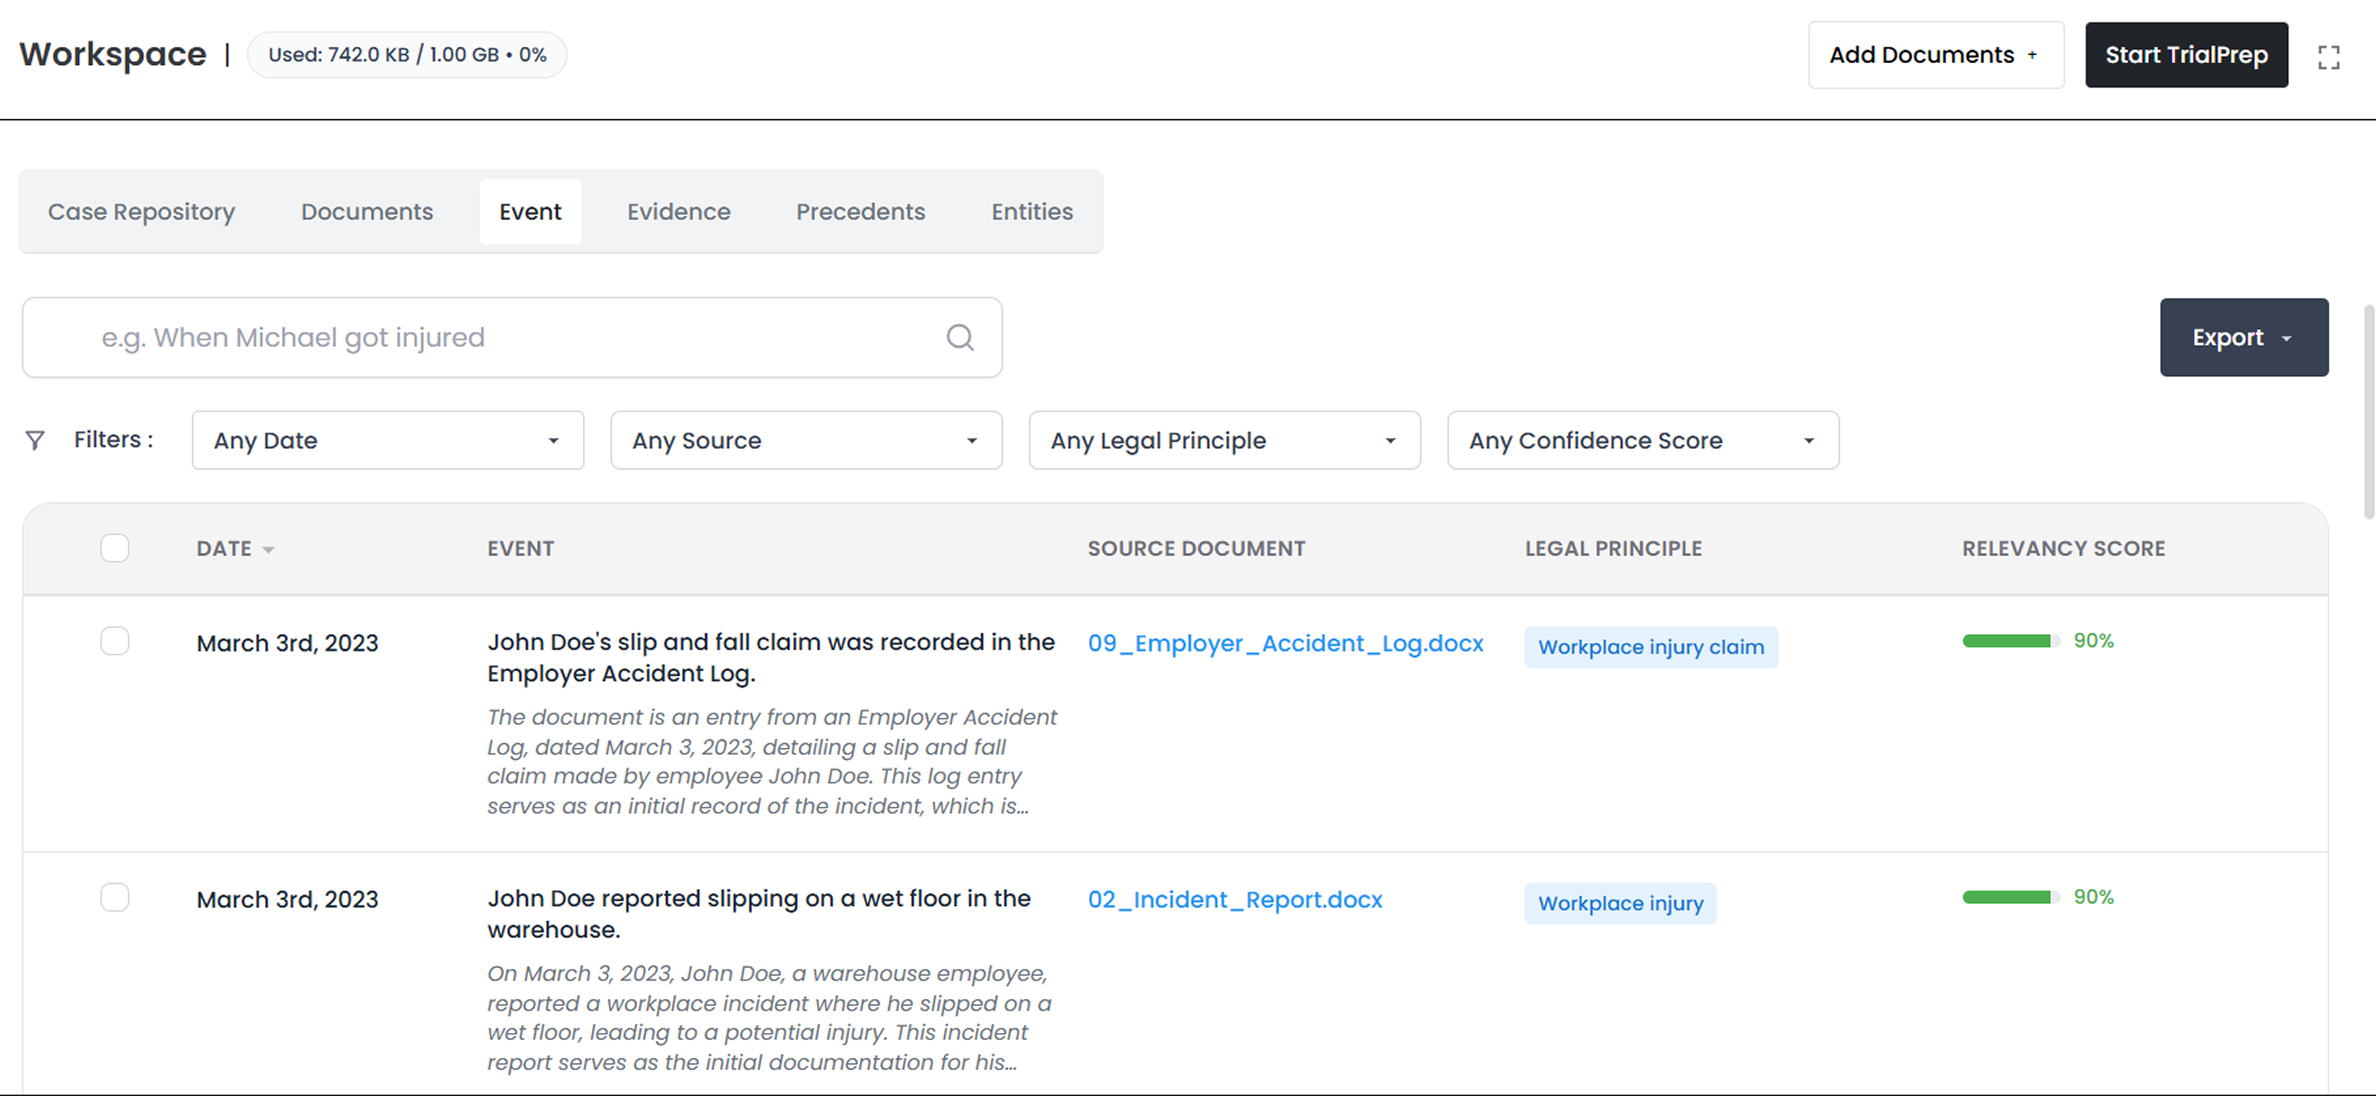
Interact with your Events
-
• ChronoVault extracts facts and events directly from your documents, linking each to its original source for verification.
-
Each event is automatically assigned:
- • a Relevance Score, showing how important it is to your case; and
- • a Legal Principle, highlighting the governing doctrine or issue (e.g., negligence, breach of contract, causation).
-
-
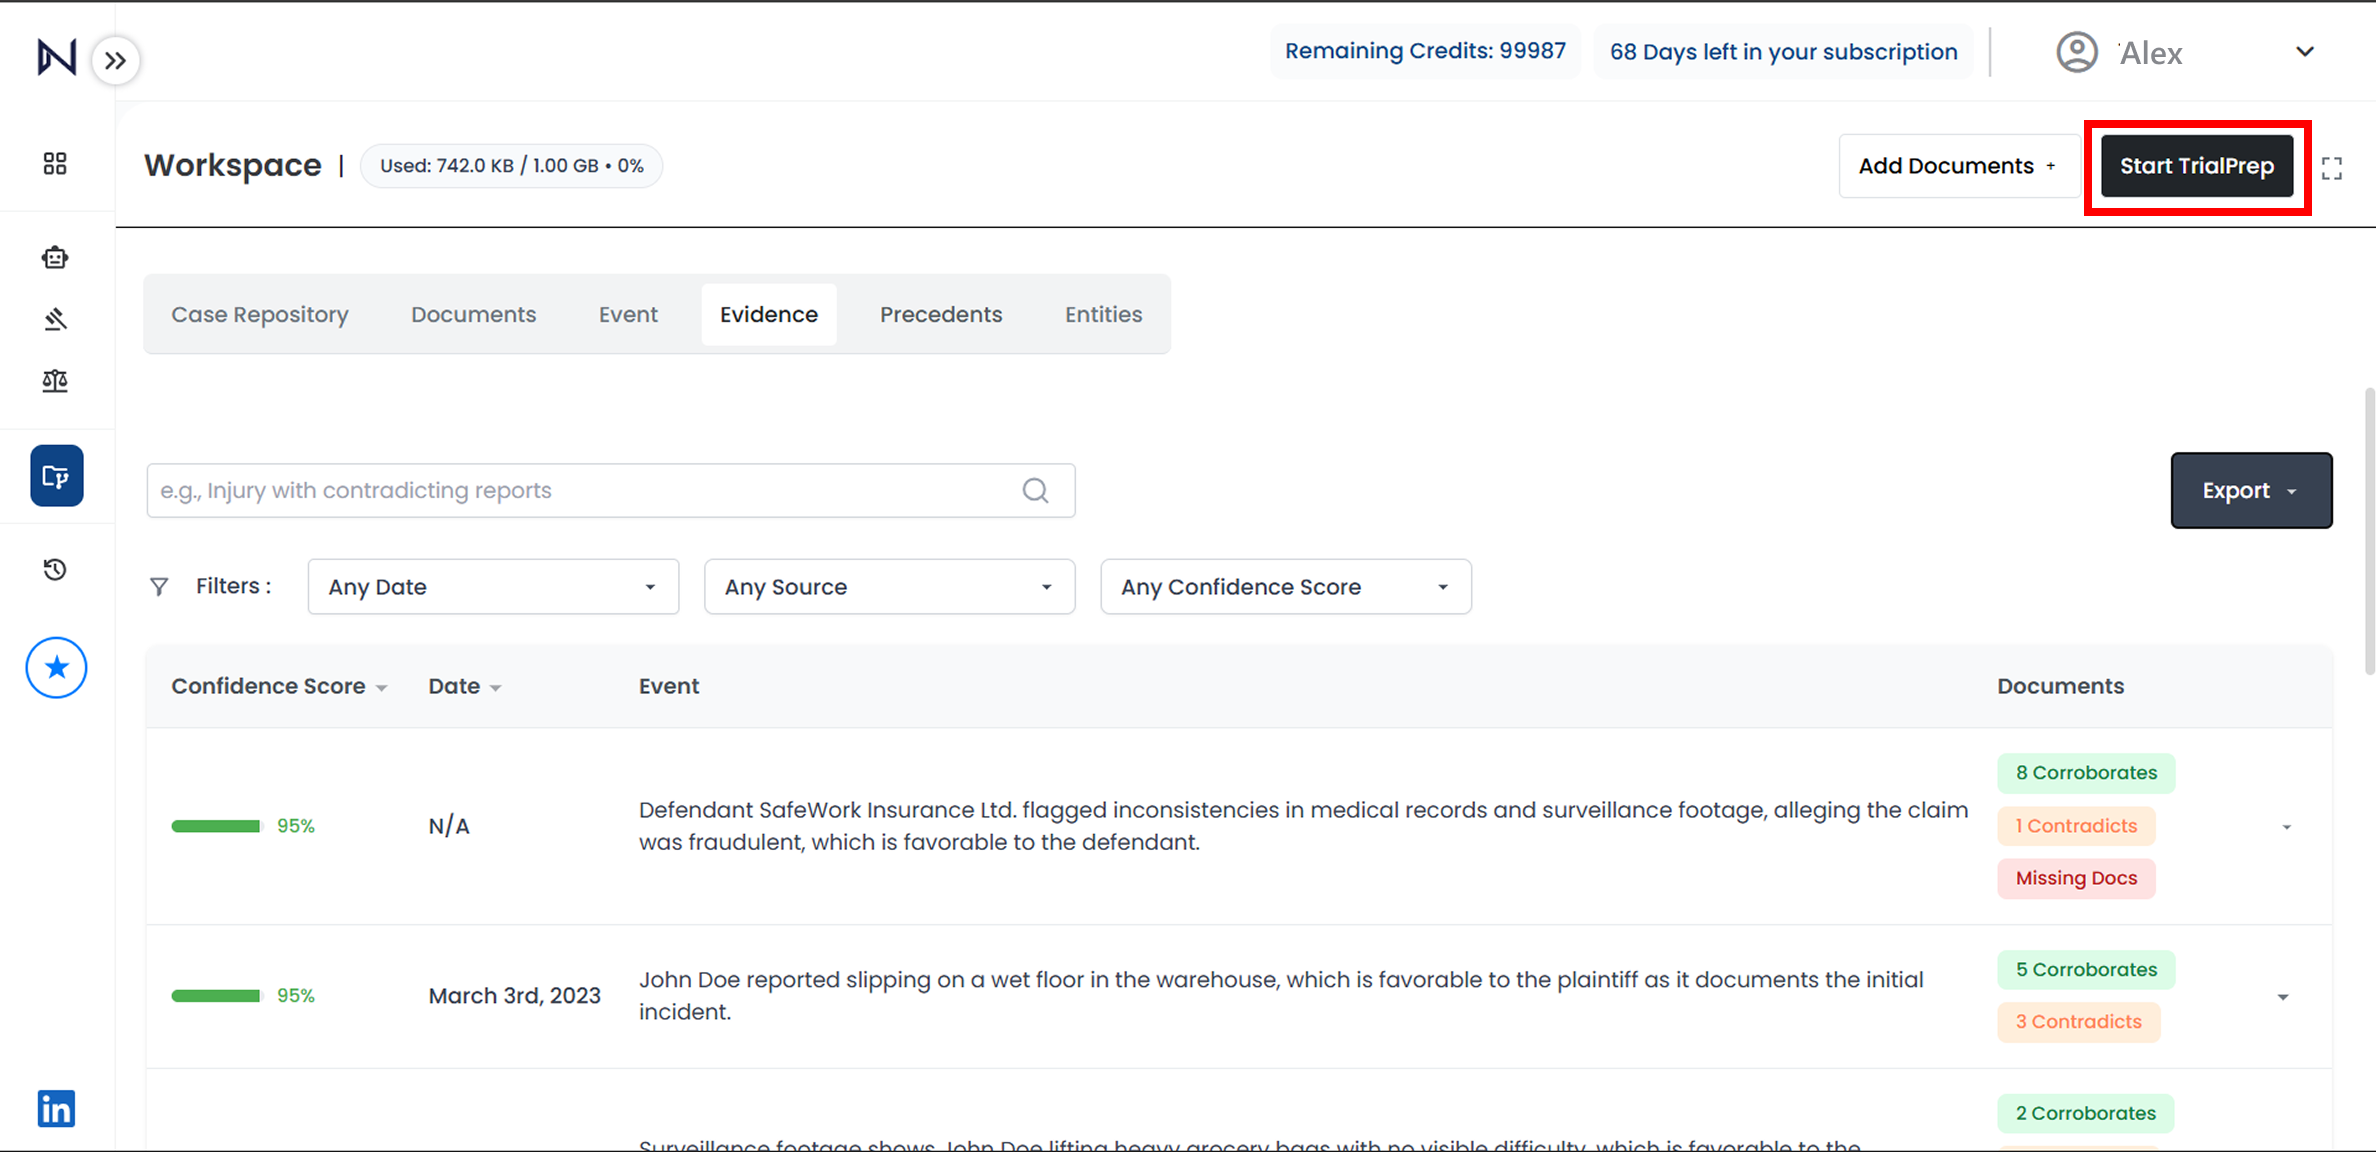
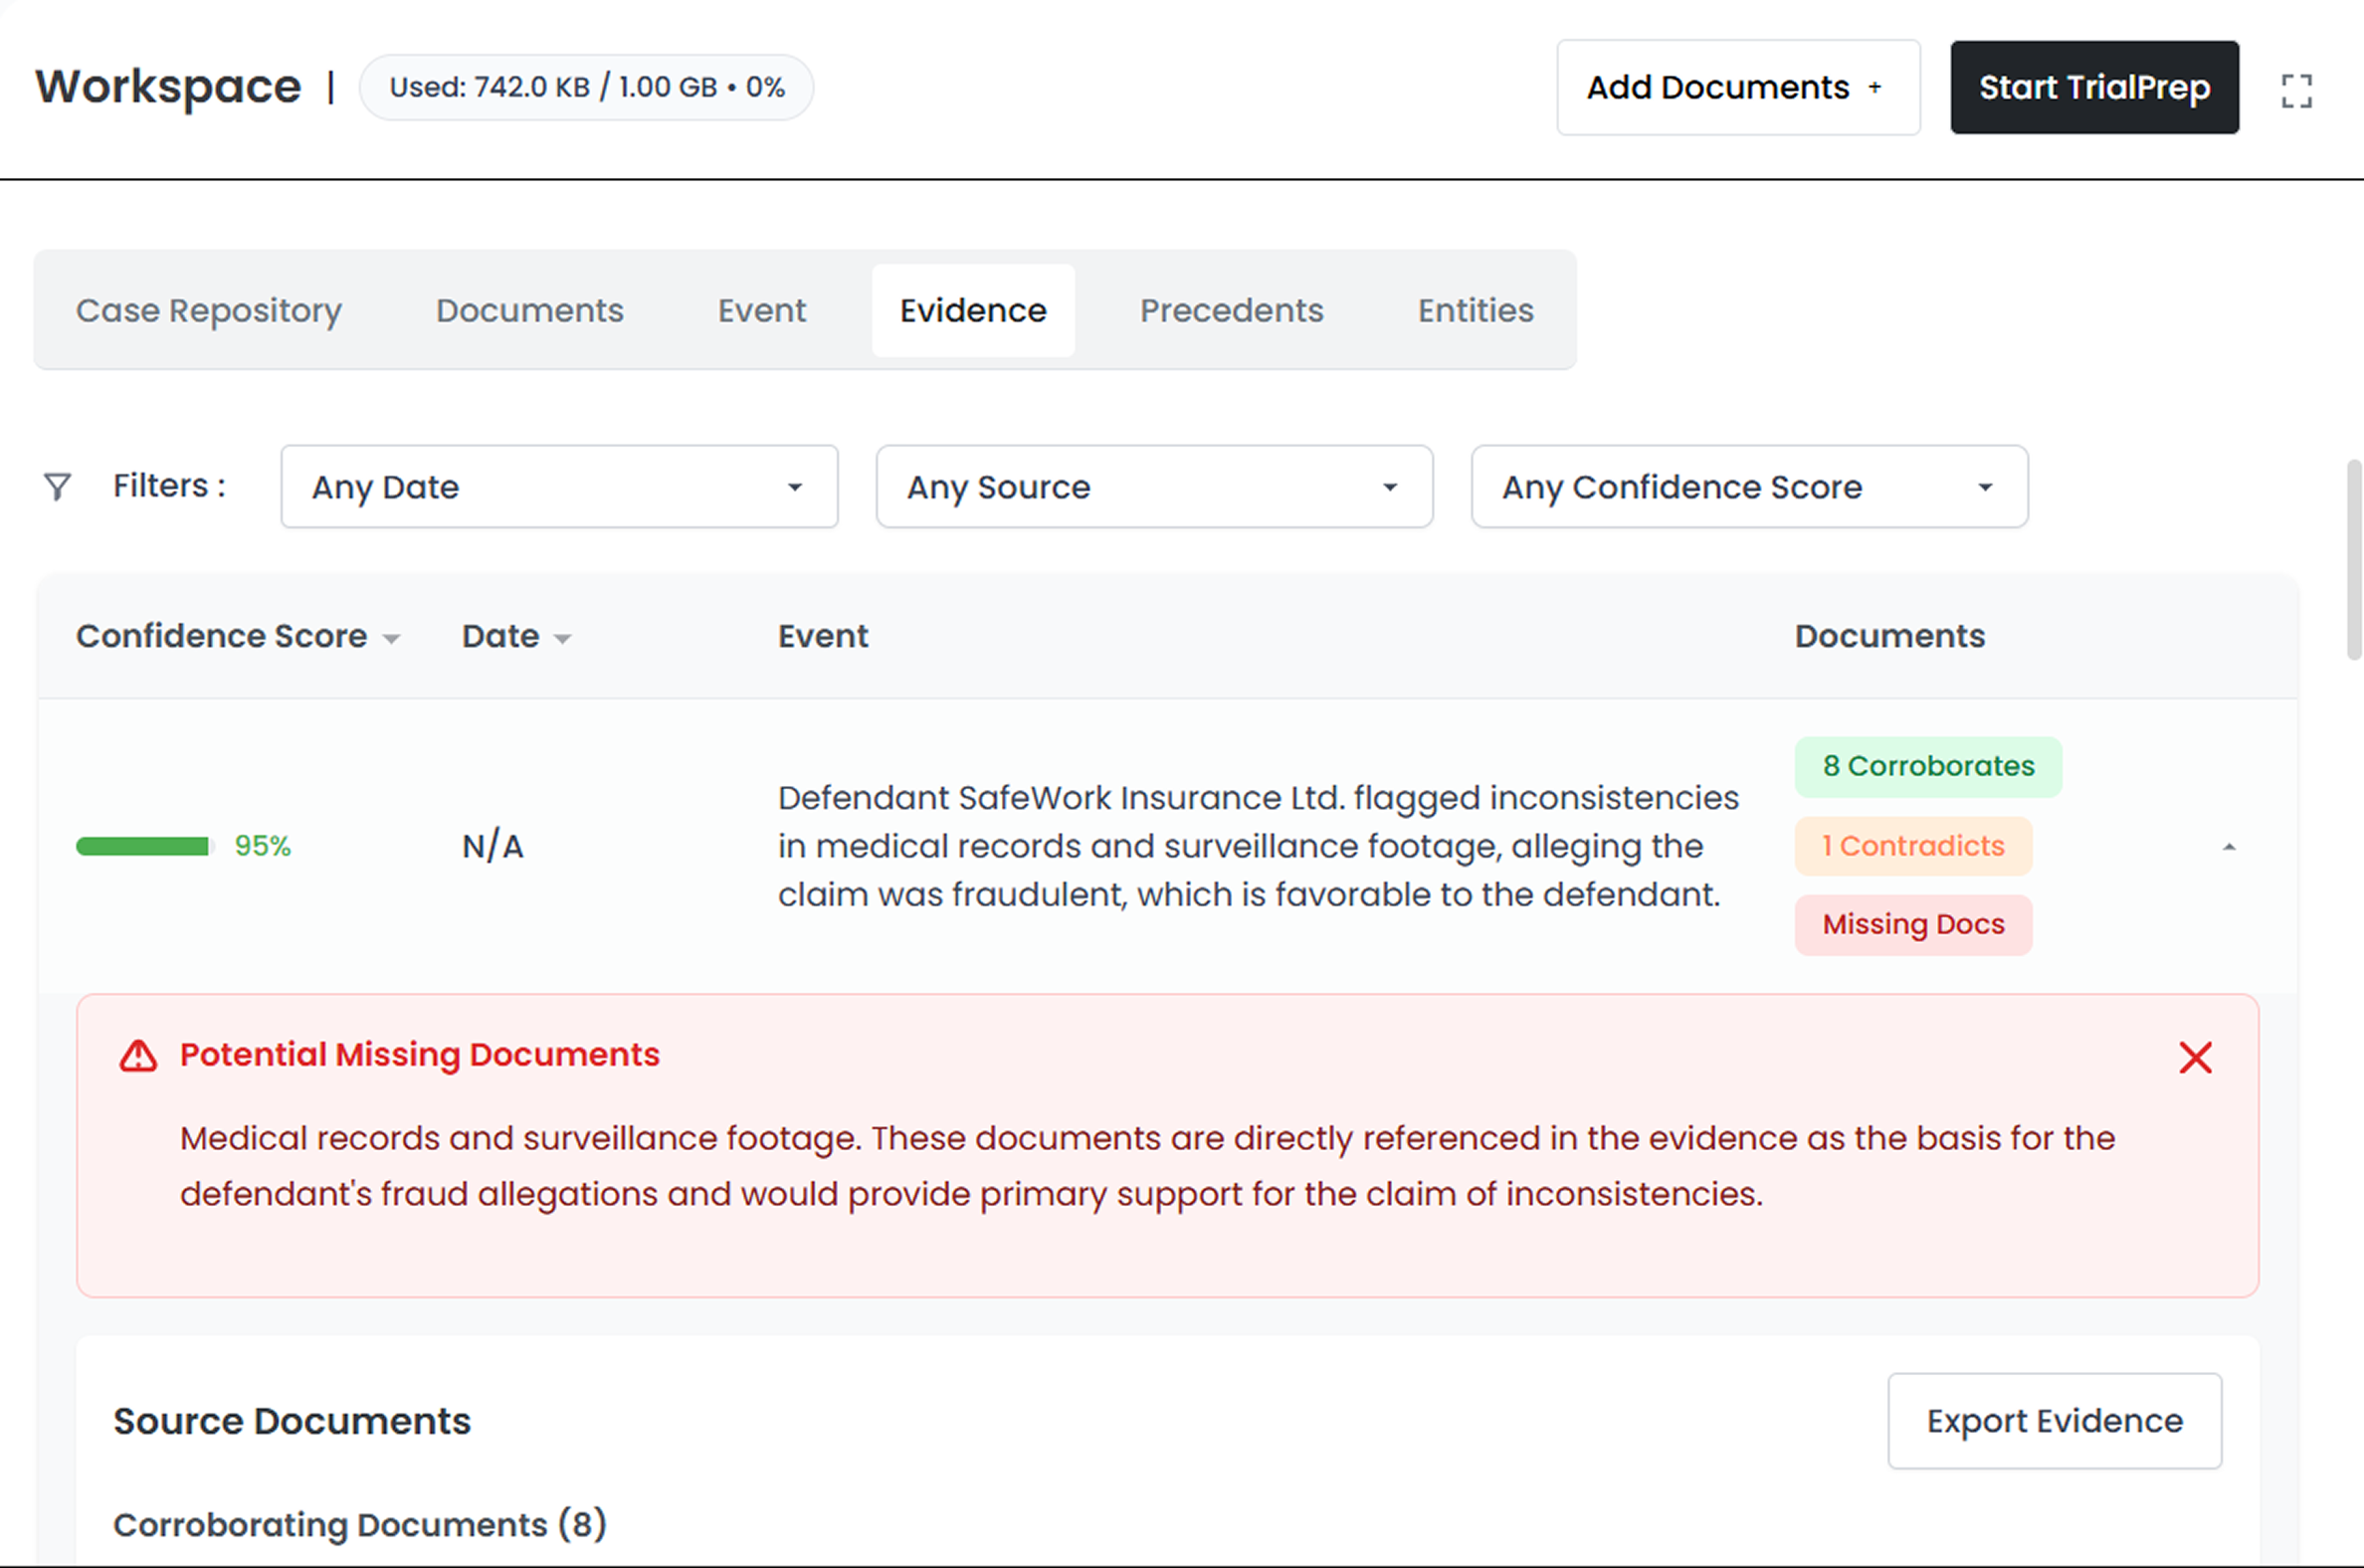
Interact with your Evidence
- • This view shows every fact or event alongside its supporting (corroborating) and conflicting (contradicting) documents.
- • ChronoVault also flags potential missing evidence — helping you identify discovery gaps before opposing counsel does.
-
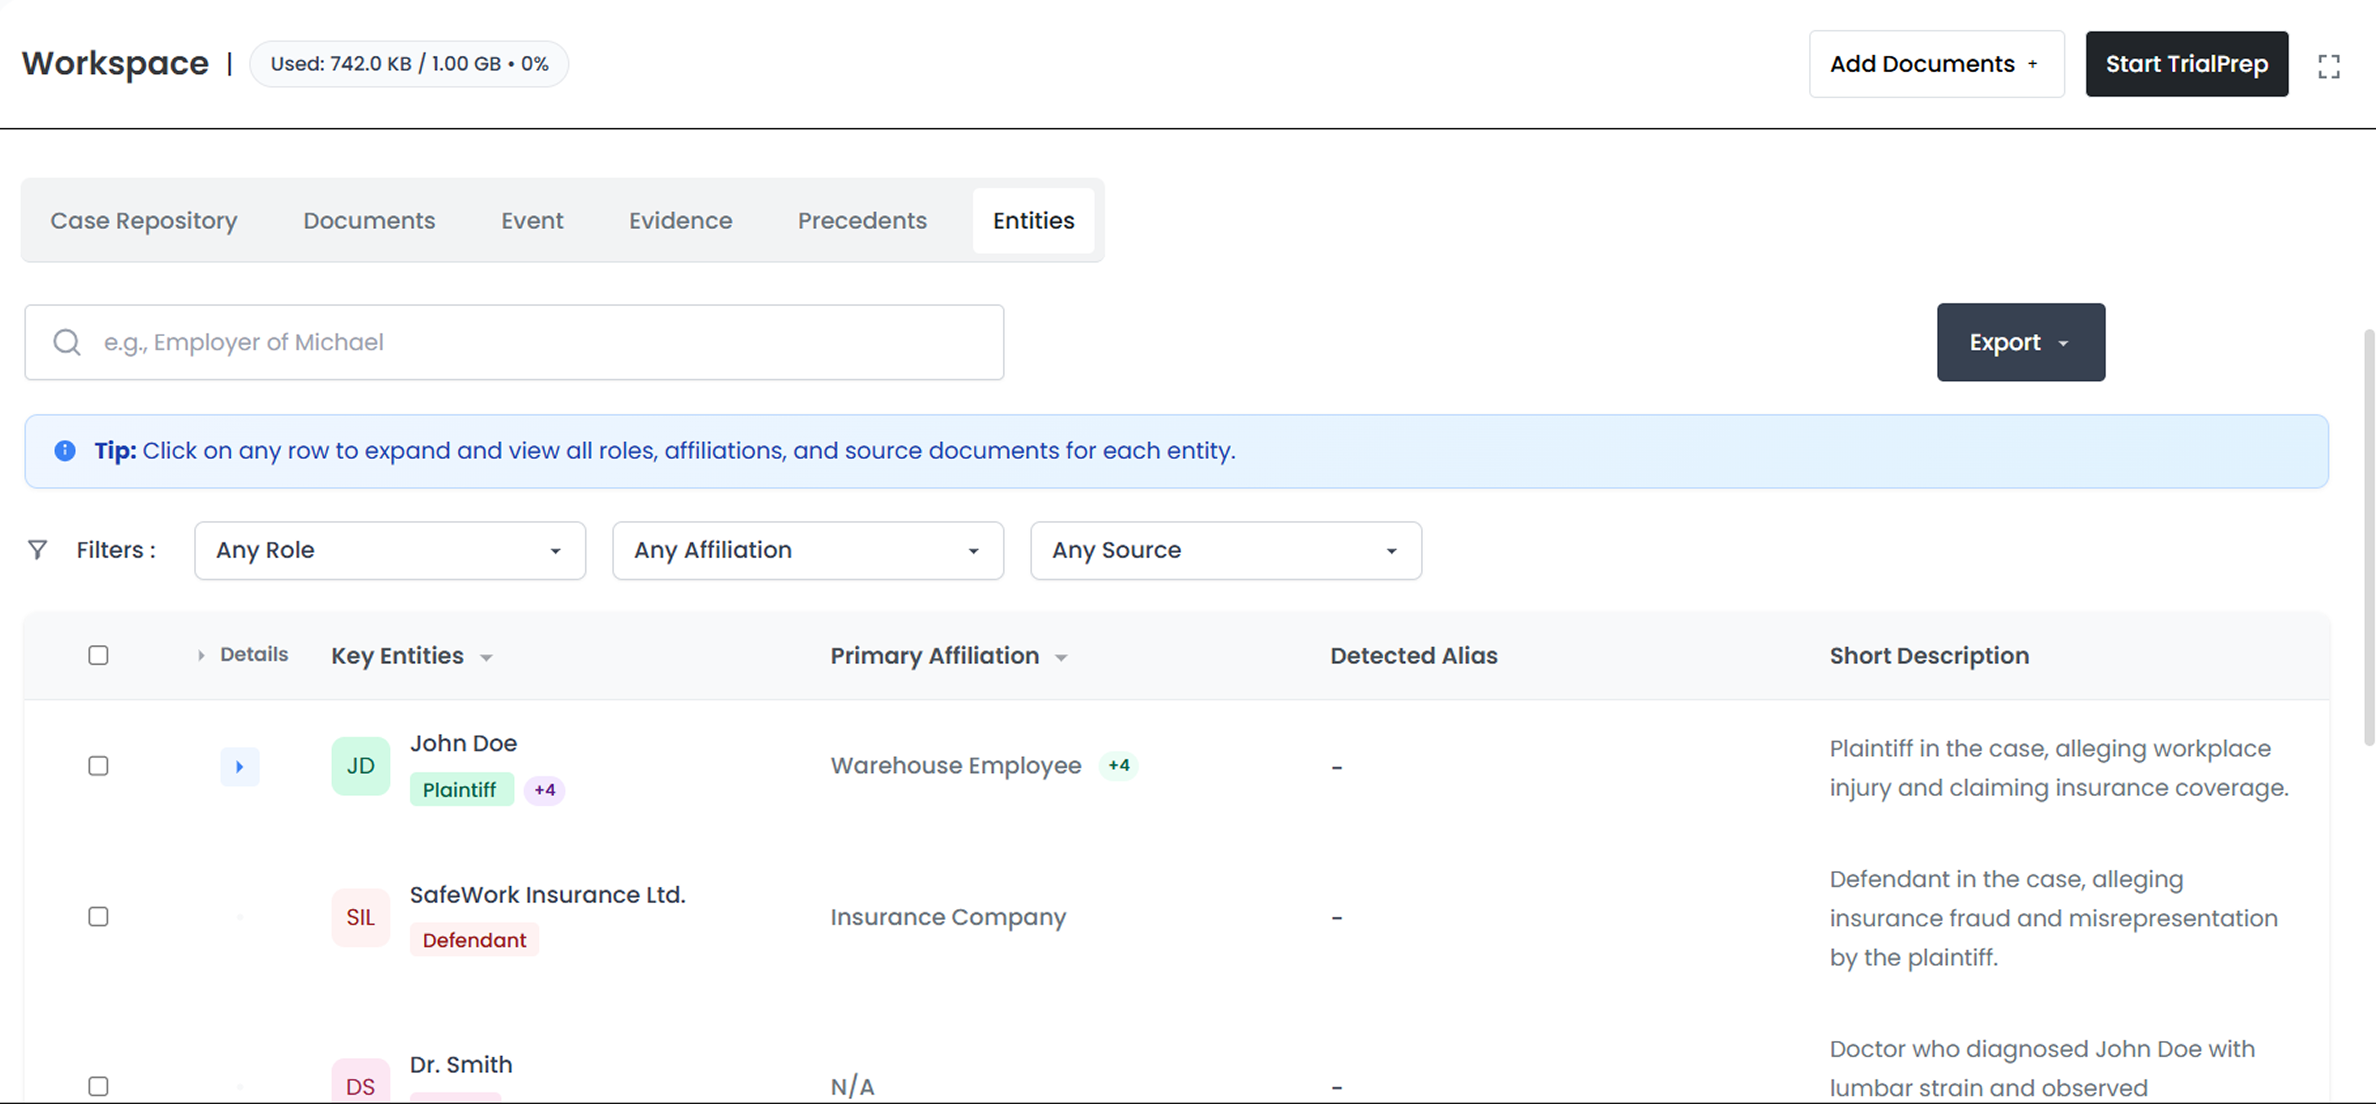
Interact with your Entities
- • View all key players in your matter, including parties, witnesses, experts, and organizations.
-
Interact with your Assistant Chat
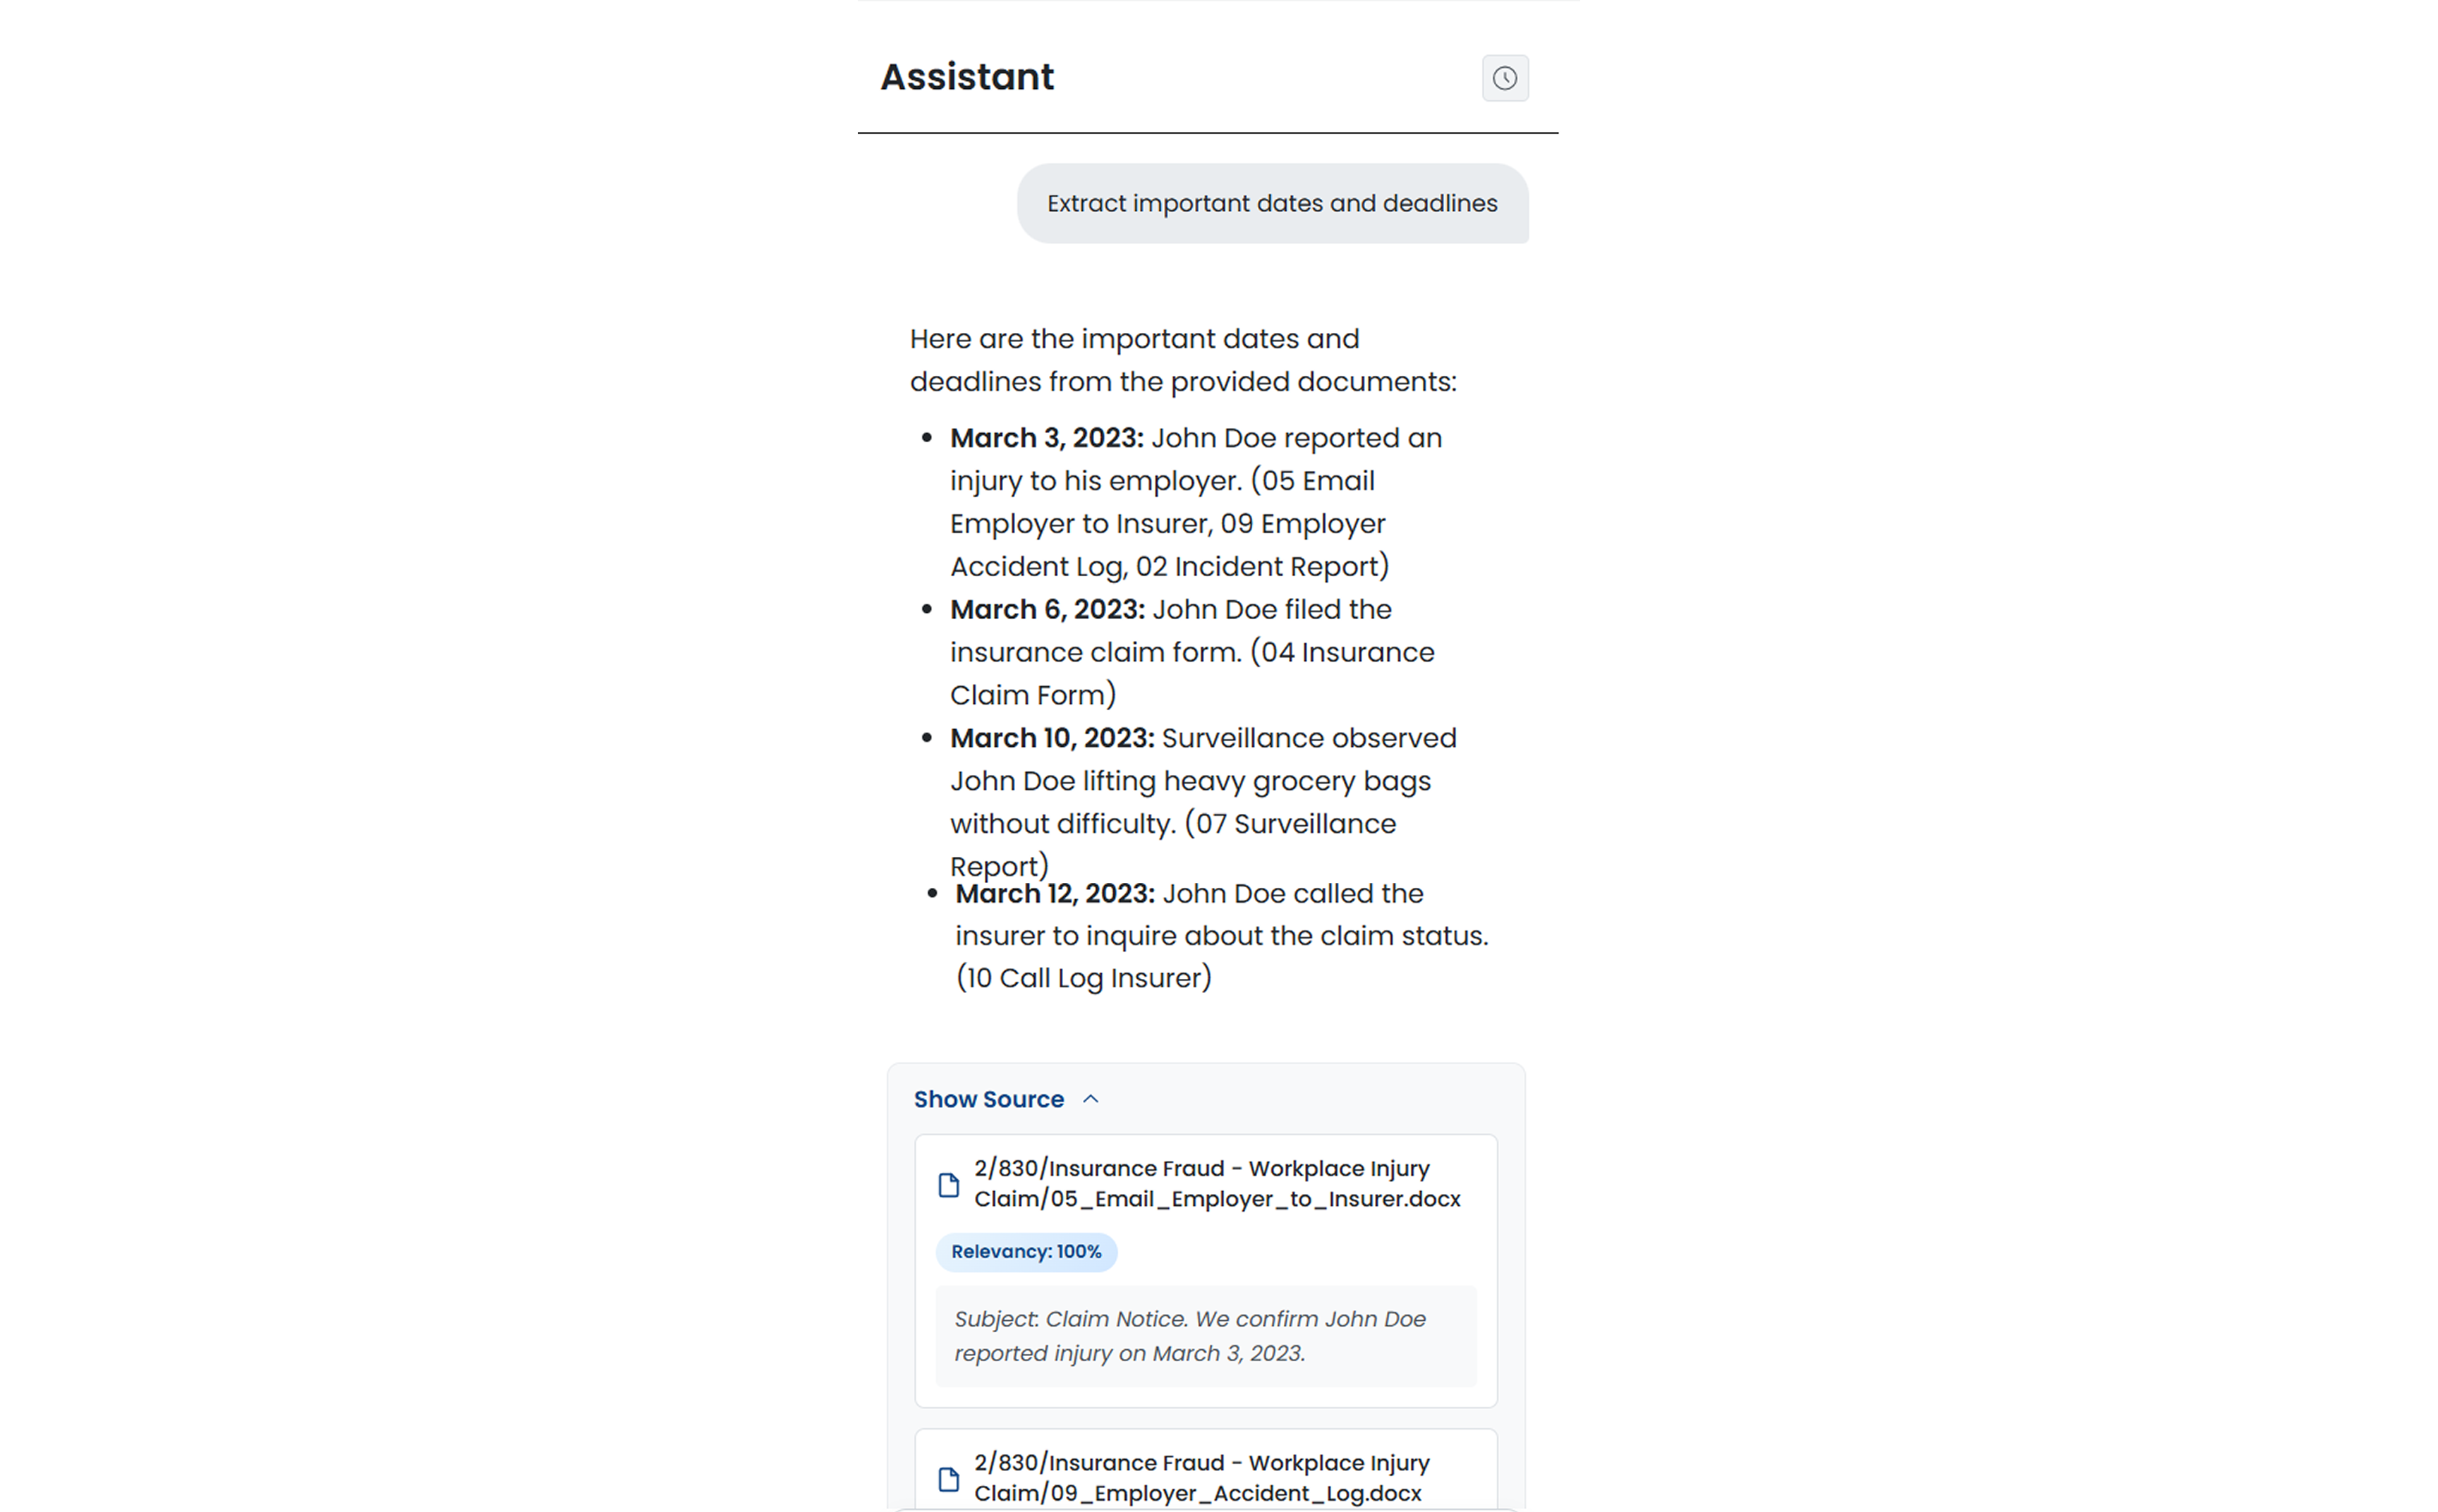
- • The Assistant Chat functions as your on-demand case expert.
- • You can ask natural-language questions (e.g., “Which exhibits establish the timeline of events?” or “Show me evidence contradicting the witness statement from June 10”).
- • The Assistant responds with precise answers, directly citing the relevant documents, passages, and facts — so you can verify every statement in context.
Exporting and Integrating with TrialPrep
-
Export Your Chronology
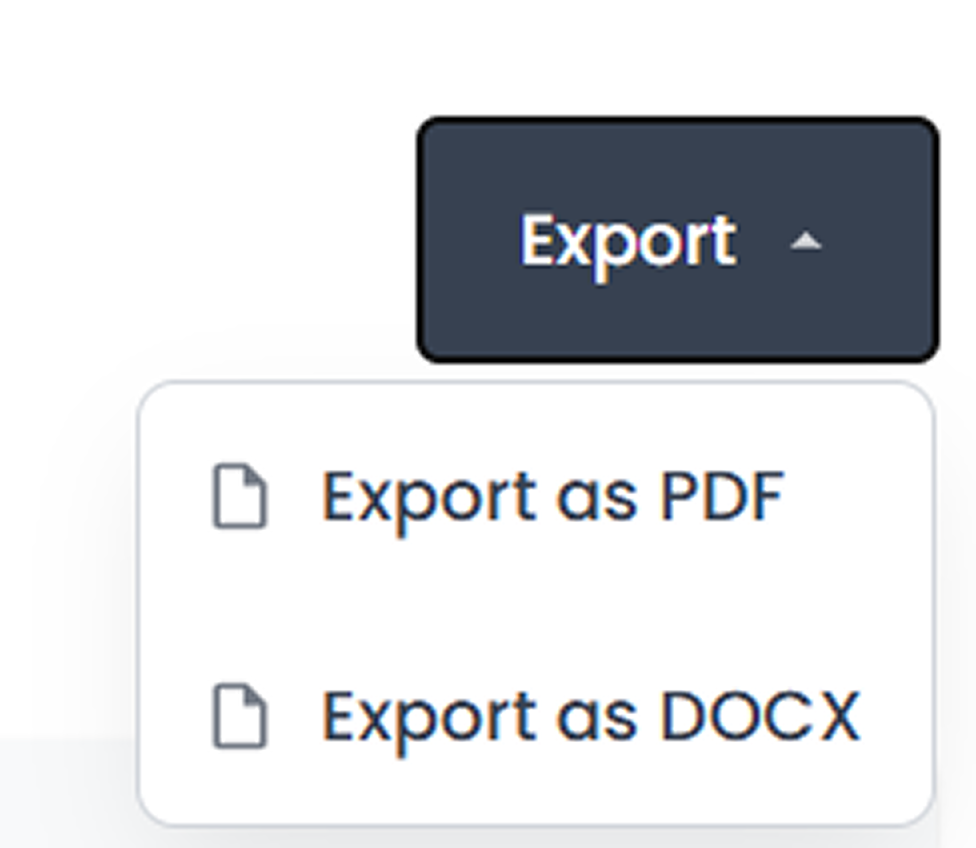
- • Once finalized, click Export to generate a version in Word, or PDF format.
-
Send to TrialPrep
- • You can transfer your completed chronology directly into TrialPrep.
- • TrialPrep will then use these extracted facts and verified timelines as the foundation for your case strategy, evidence assessment, and argument generation.