TrialPrep
Welcome to the NexLaw Knowledge Help Center – TrialPrep Section.
Getting Started: Creating a TrialPrep
-
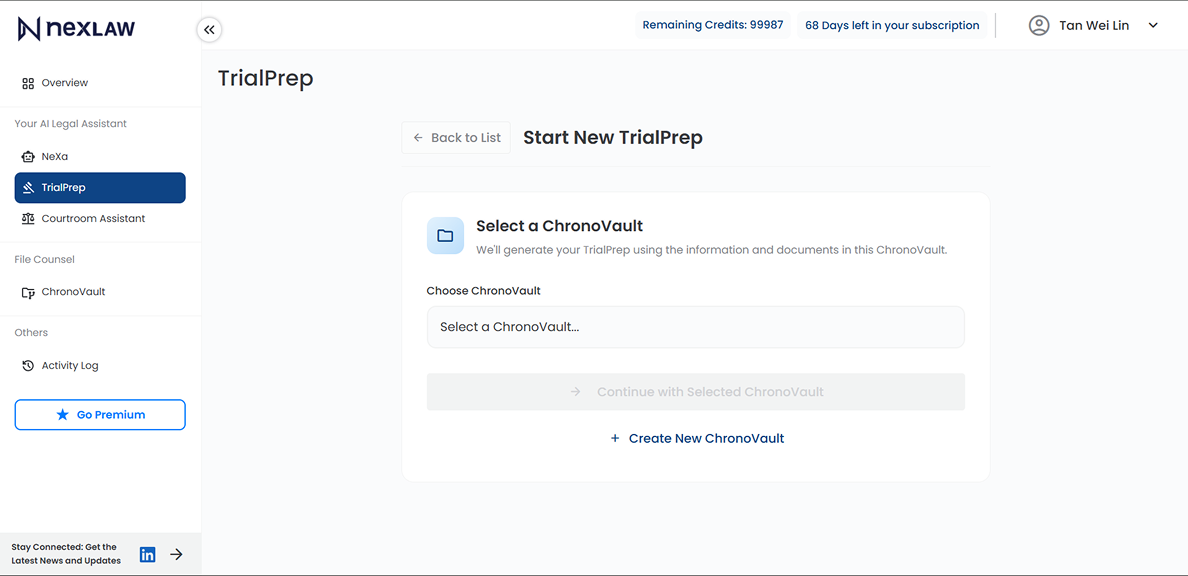
Create a TrialPrep
- • To start, you must have an existing ChronoVault.
- • Choose a ChronoVault to be used as foundation for TrialPrep strategies.
-
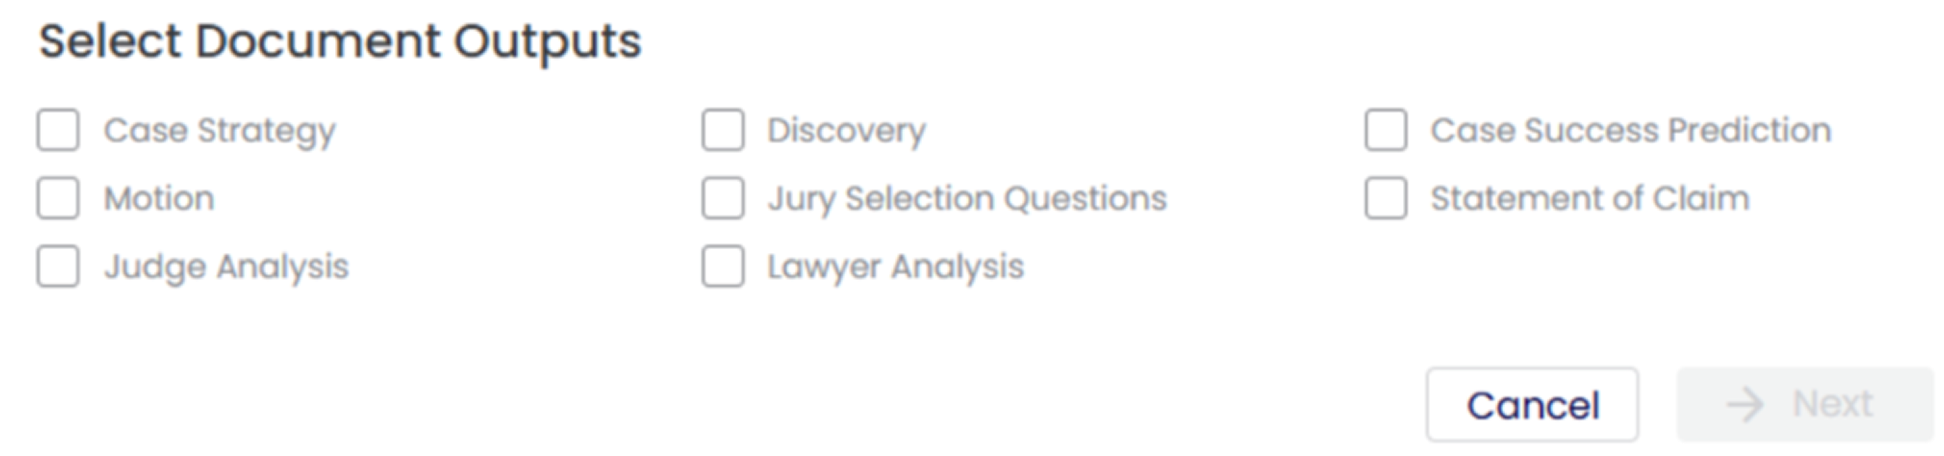
Generate Document Outputs
Select the outputs you need TrialPrep to generate.
Working with TrialPrep
-
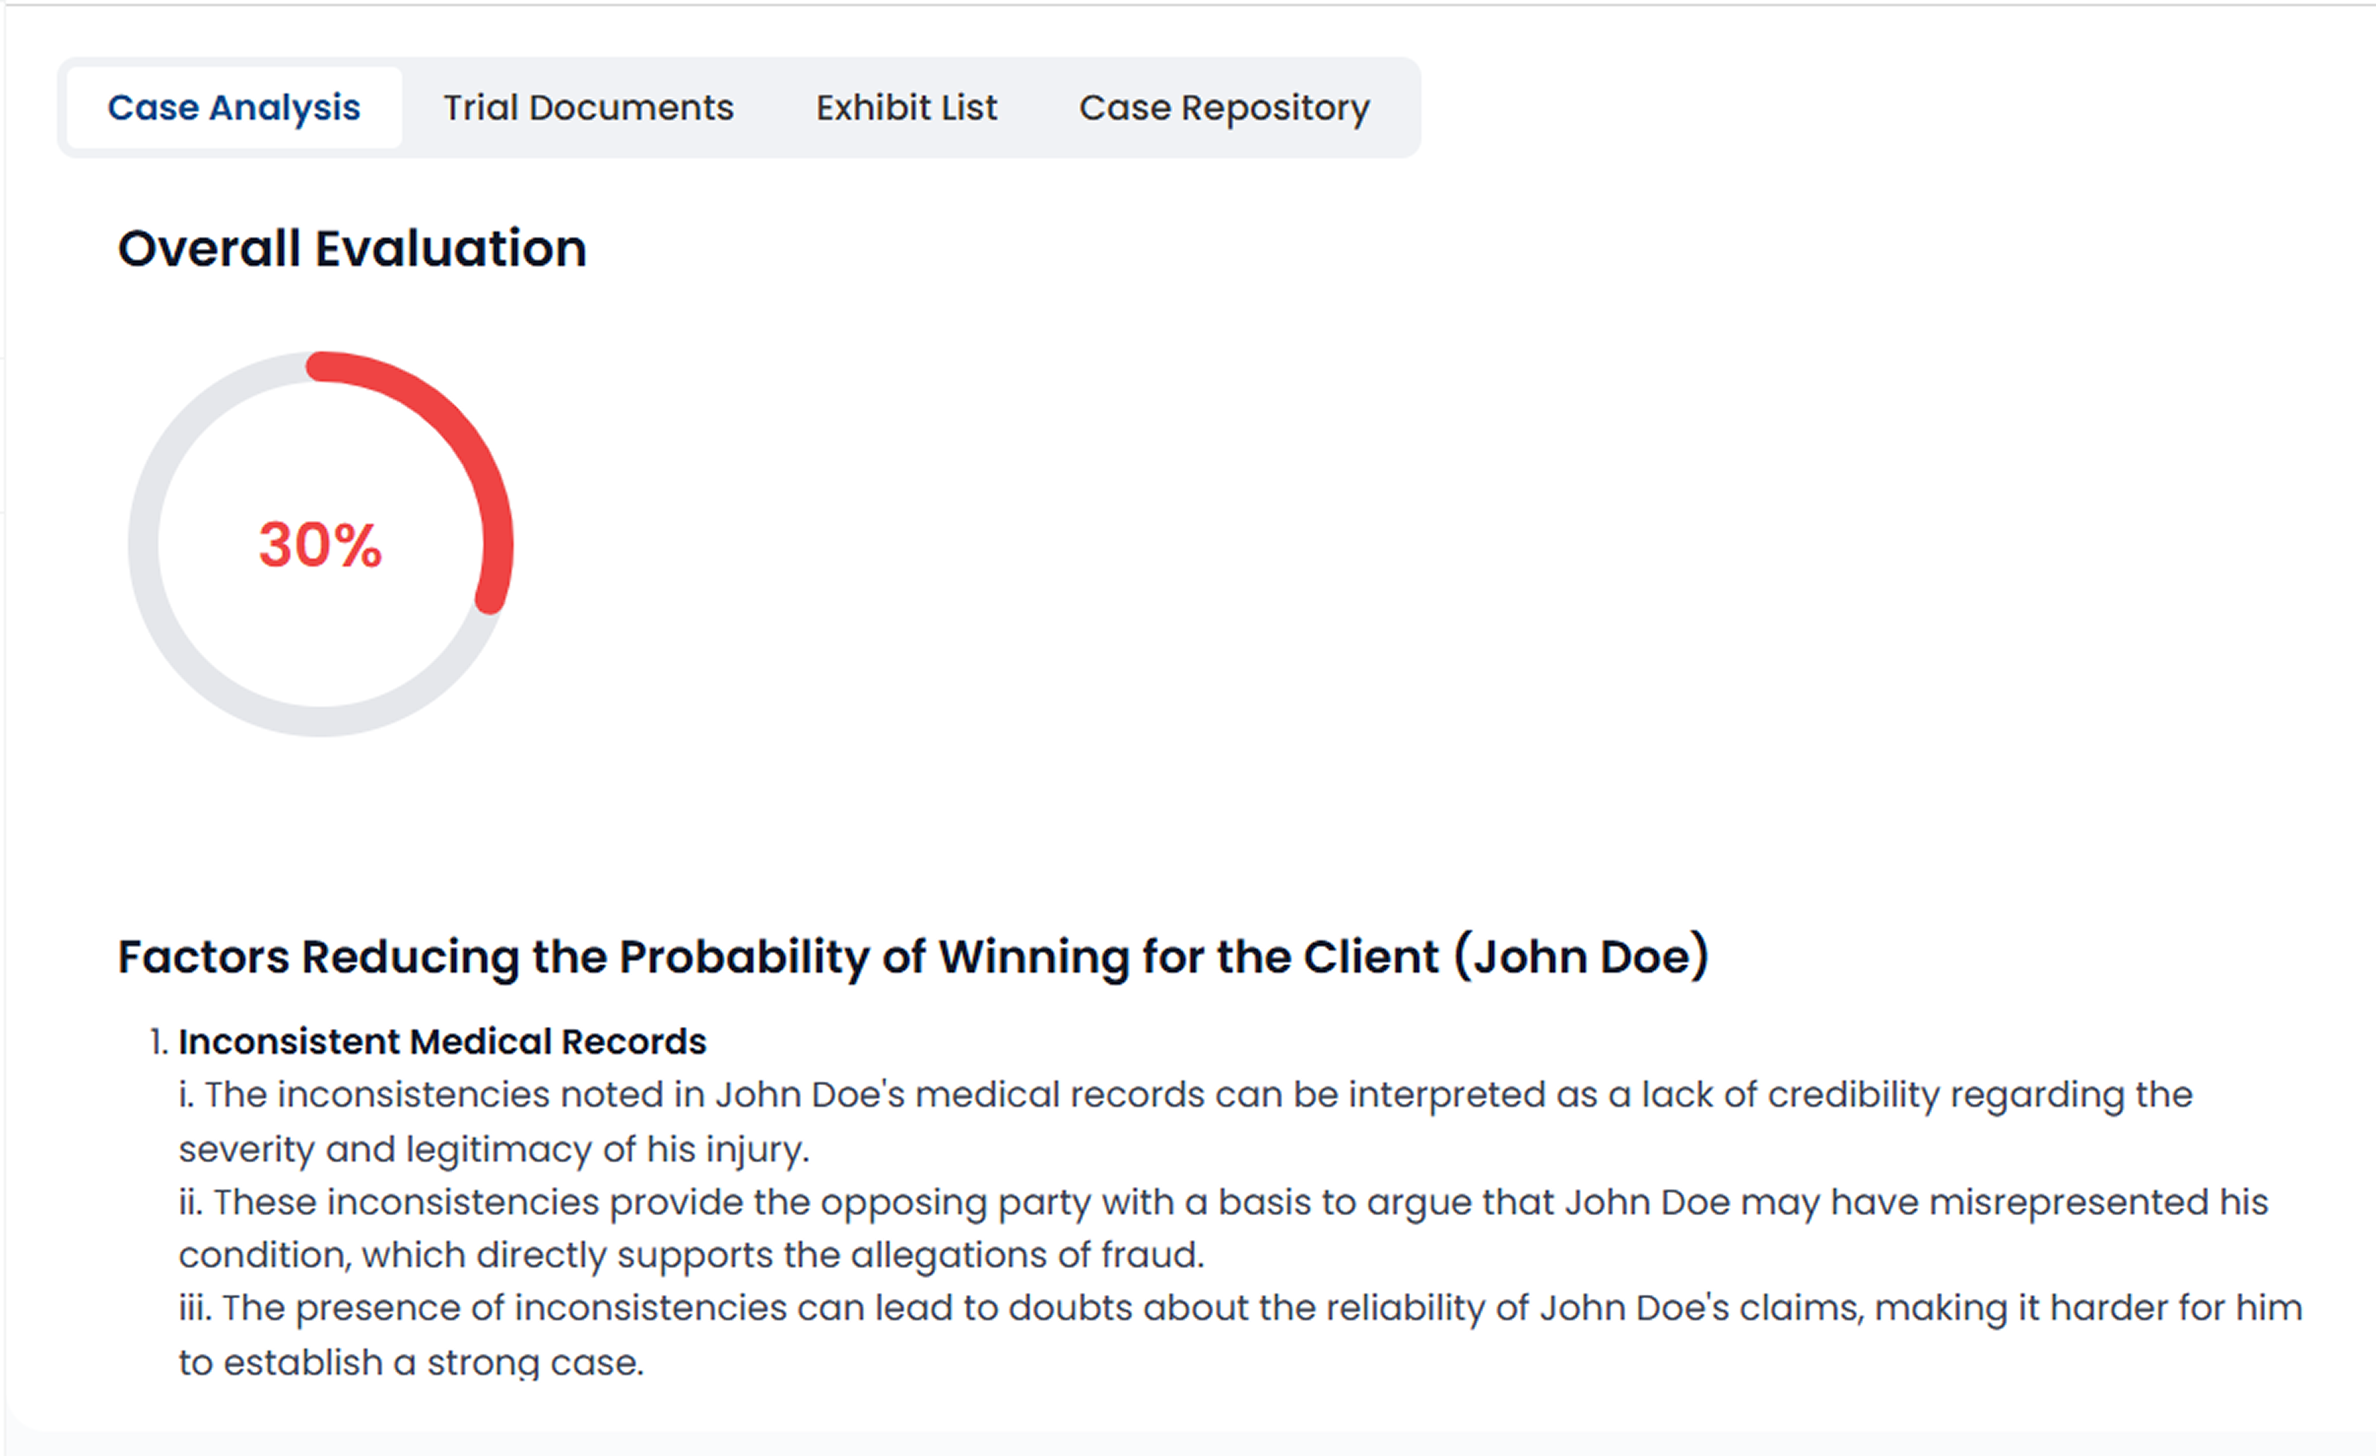
Review Case Analysis
TrialPrep begins with powerful case analysis that mirrors how an experienced trial lawyer evaluates a matter.
-
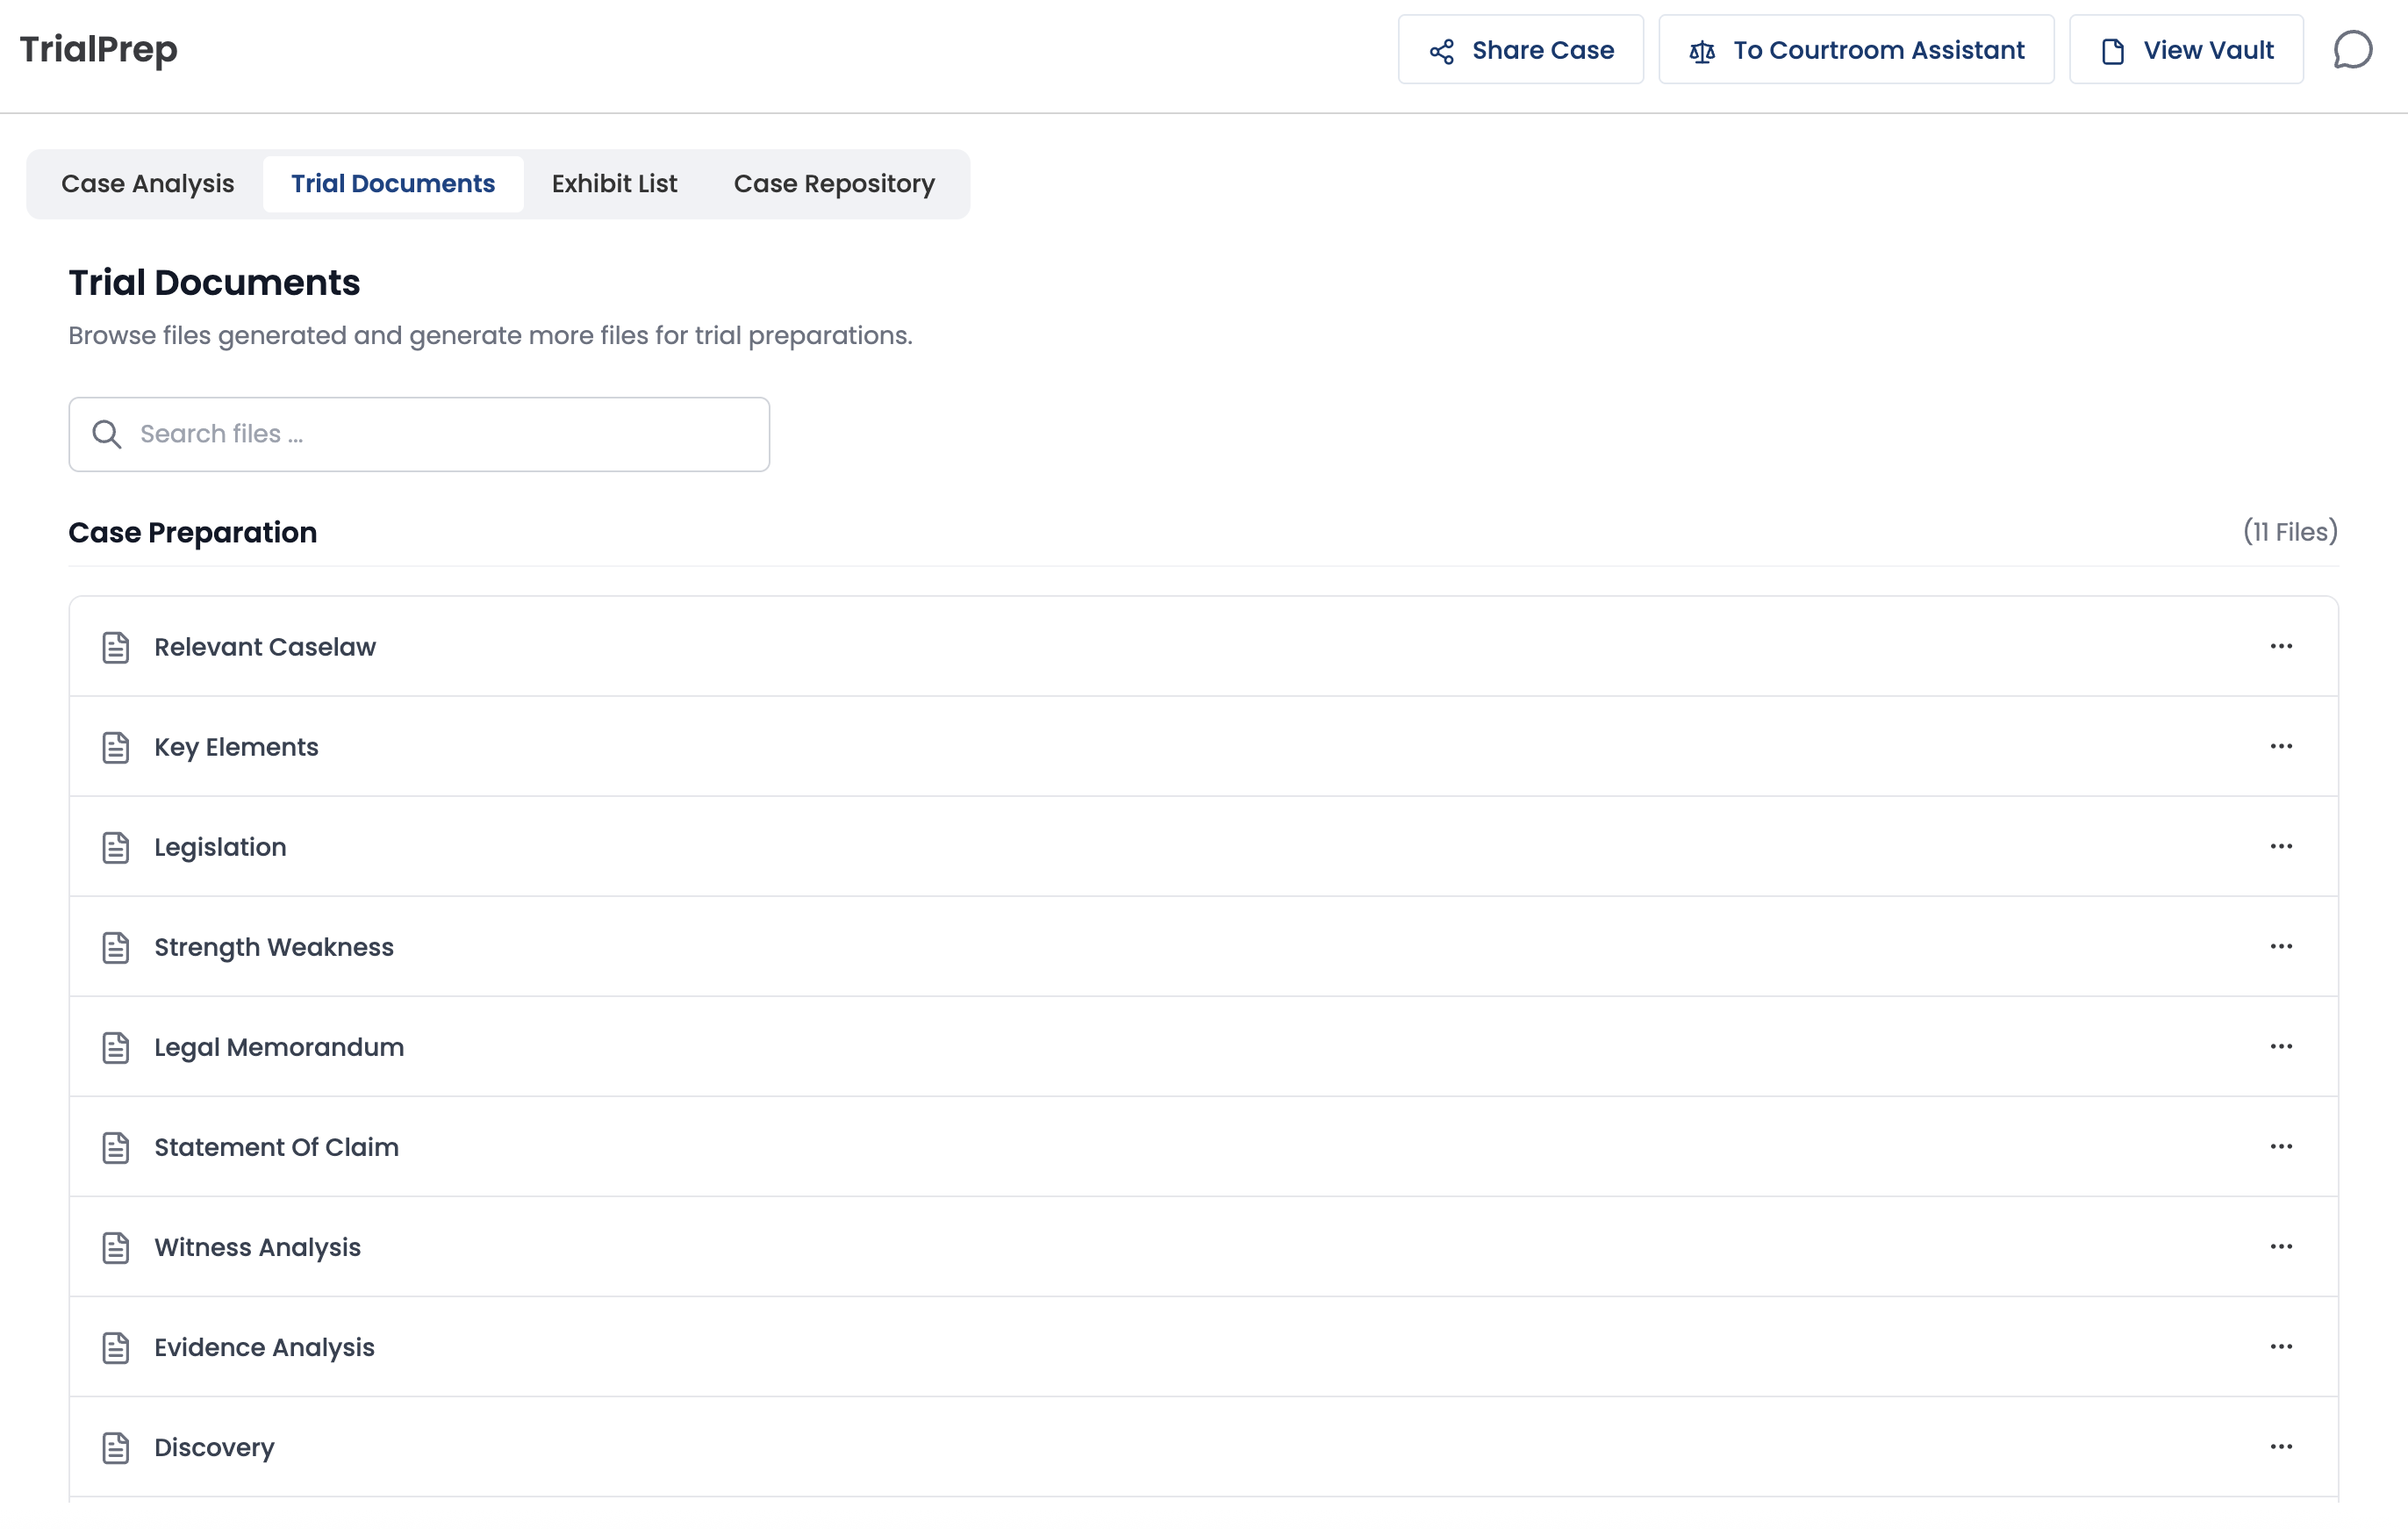
Review Trial Documents
Each TrialPrep session automatically produces core trial materials tailored to your case.
-
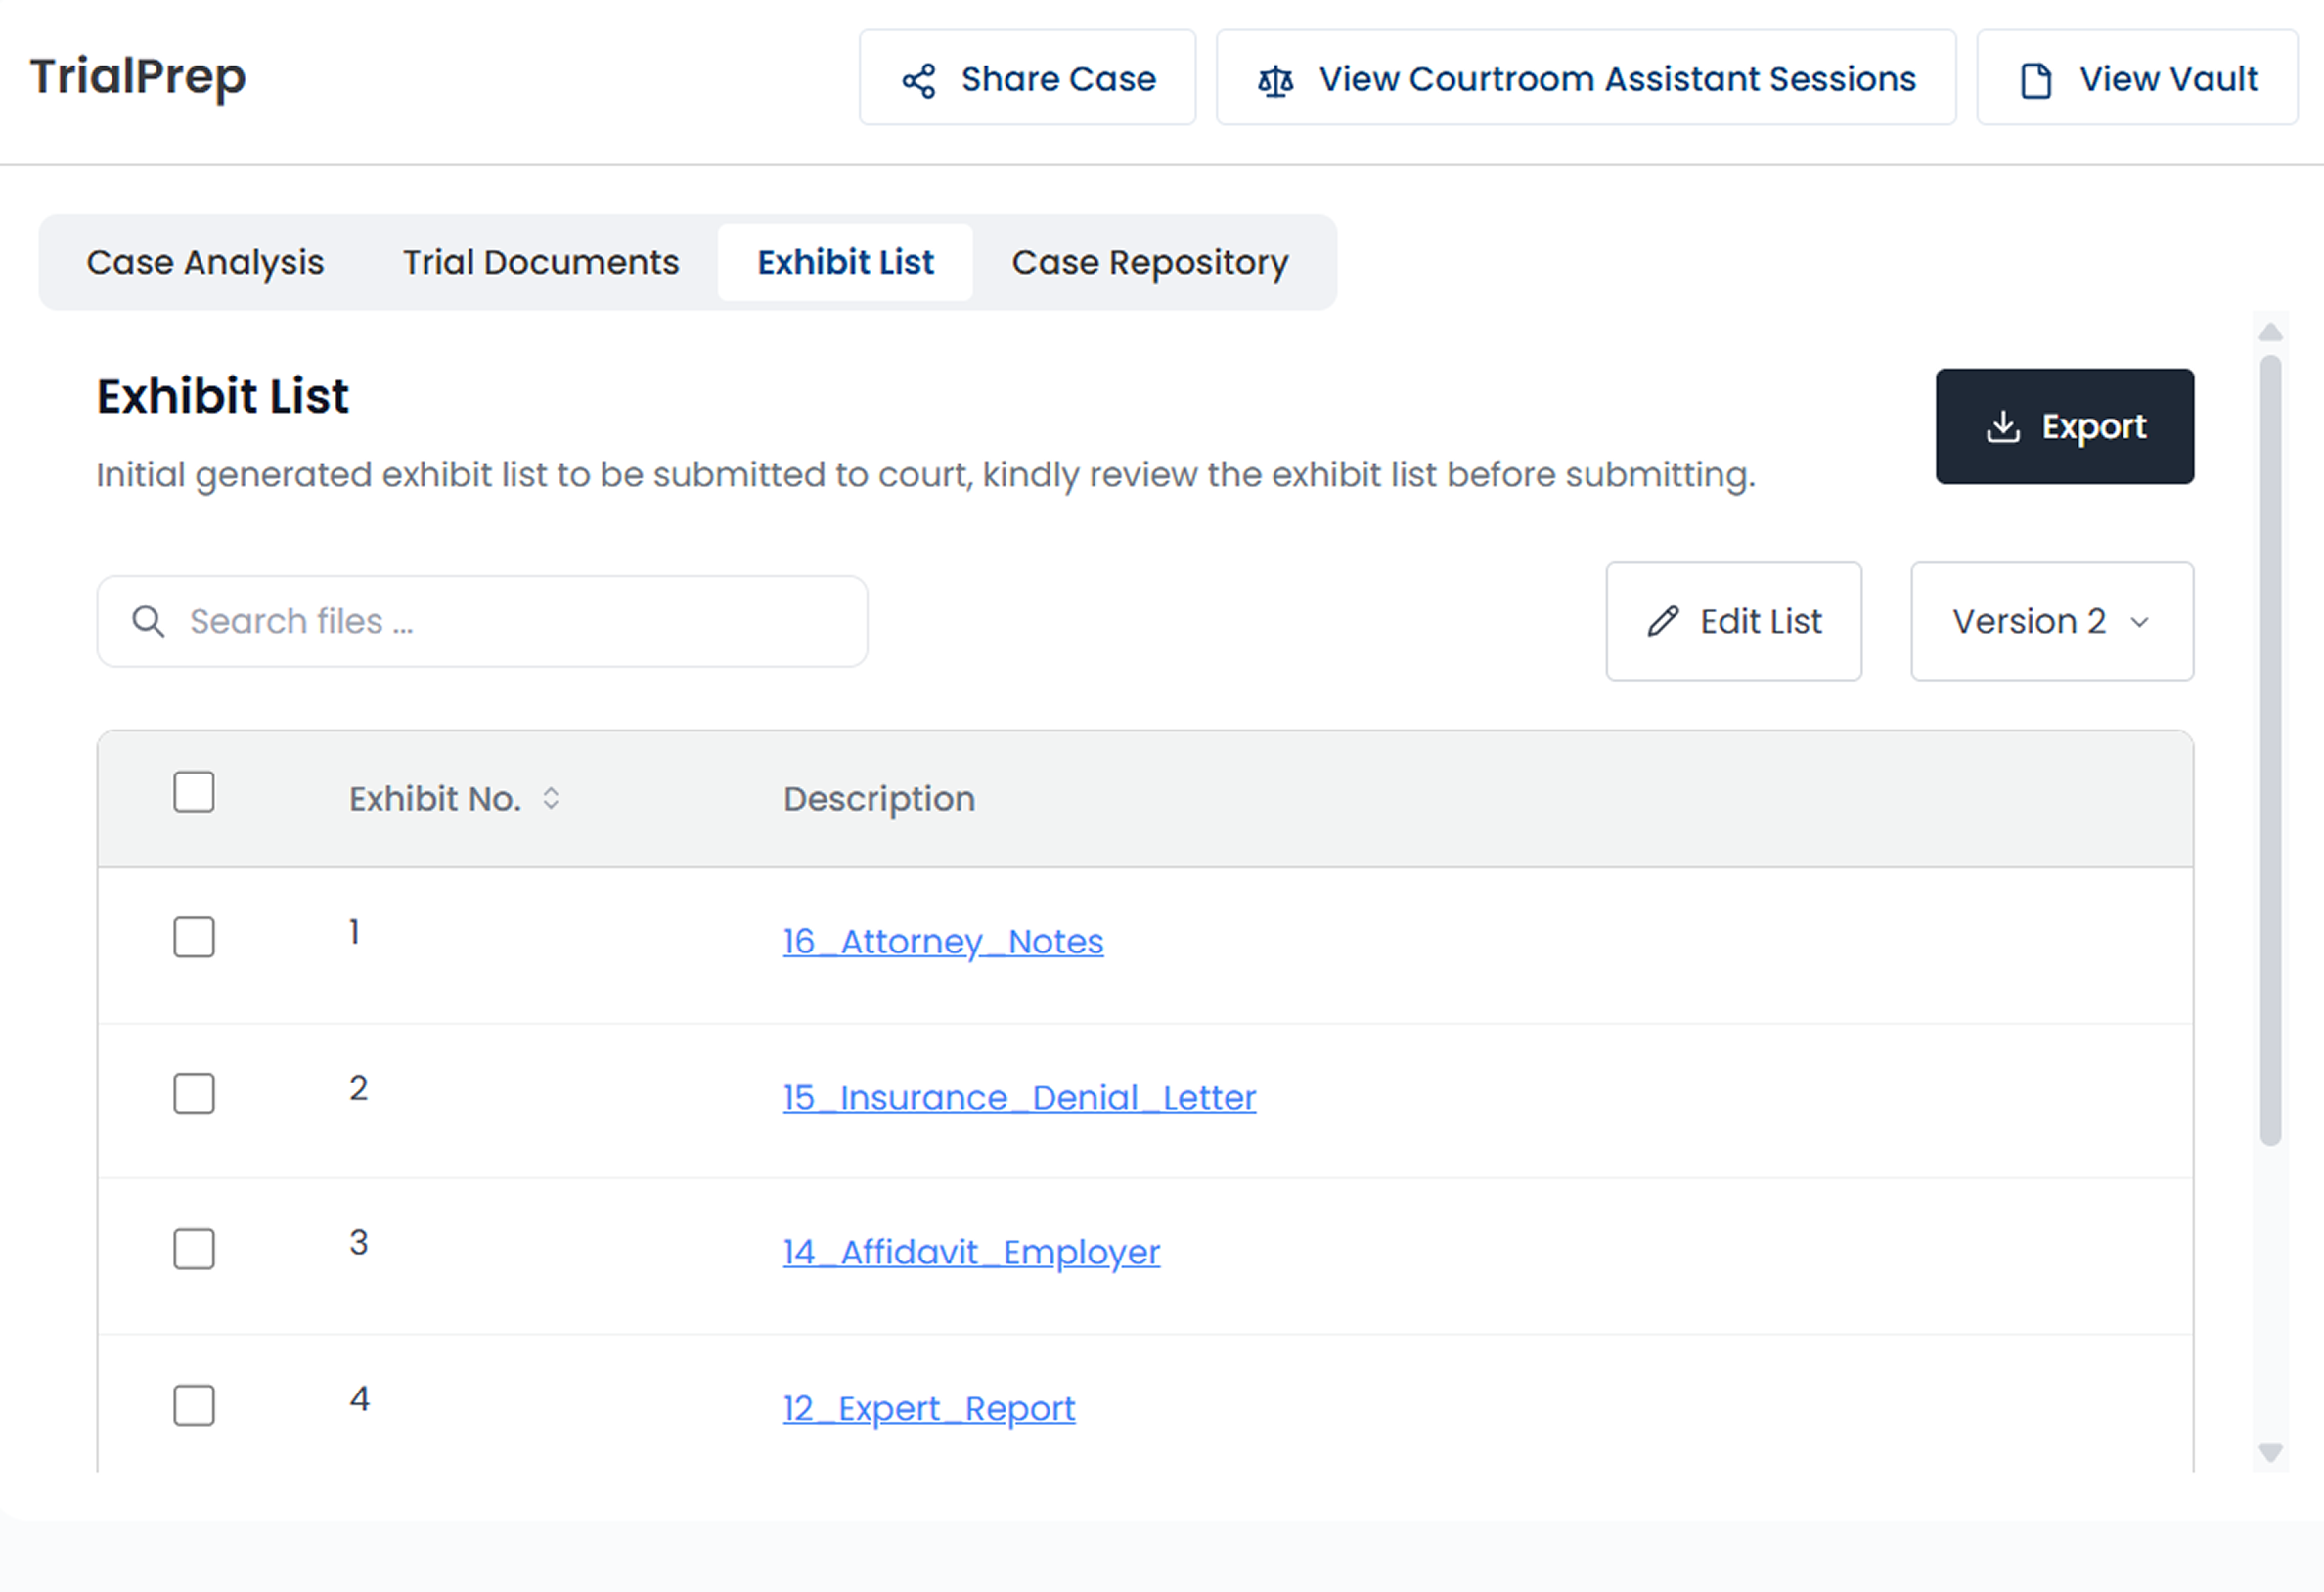
Exhibit List
TrialPrep automatically curates your Exhibit List using the files and context from ChronoVault. You can review, rename, or exclude documents, and export your exhibit list.
-
Moving to Courtroom Assistant
Click Start Courtroom Assistant to seamlessly transition to Courtroom Assistant, once your case strategy is finalized and your exhibit list is complete.
